Chatbot - Get Started
Welcome to the smoothest AI Support for your SaaS startup. Let’s cover all the things you need to know to set up your first AI Chatbot and how you can configure it as per your startup requirement.
Create an AI chatbot
Creating your first AI Chatbot is easy. Here are the baby steps you need to follow.
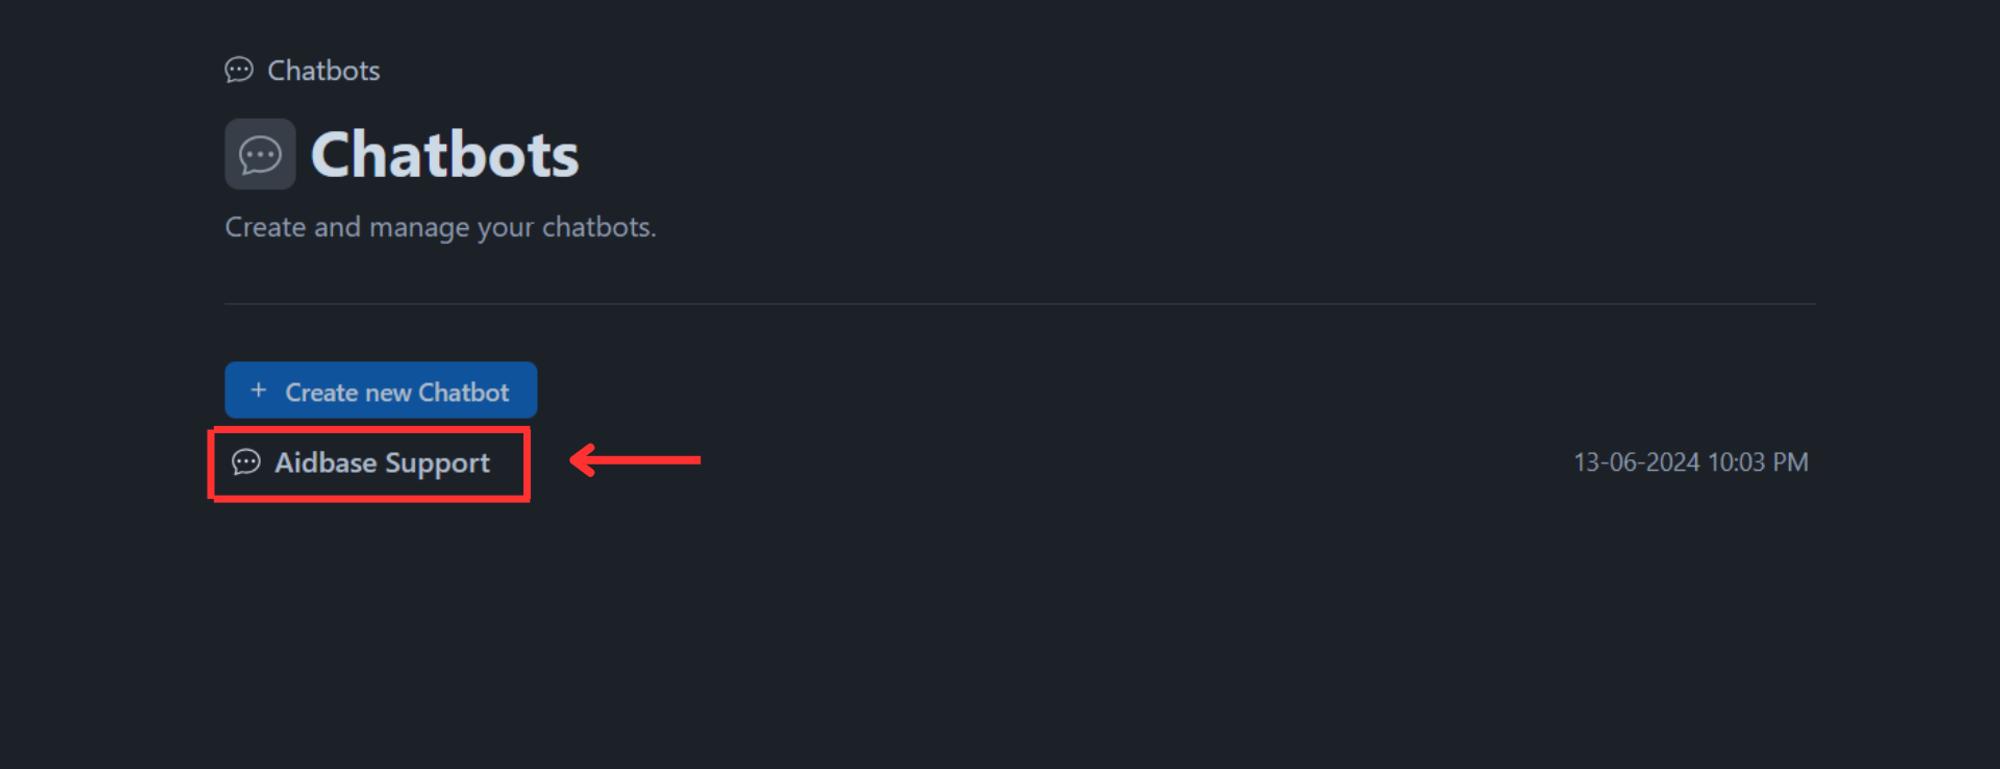
- Navigate to chatbots (opens in a new tab) on your Dashboard Screen.
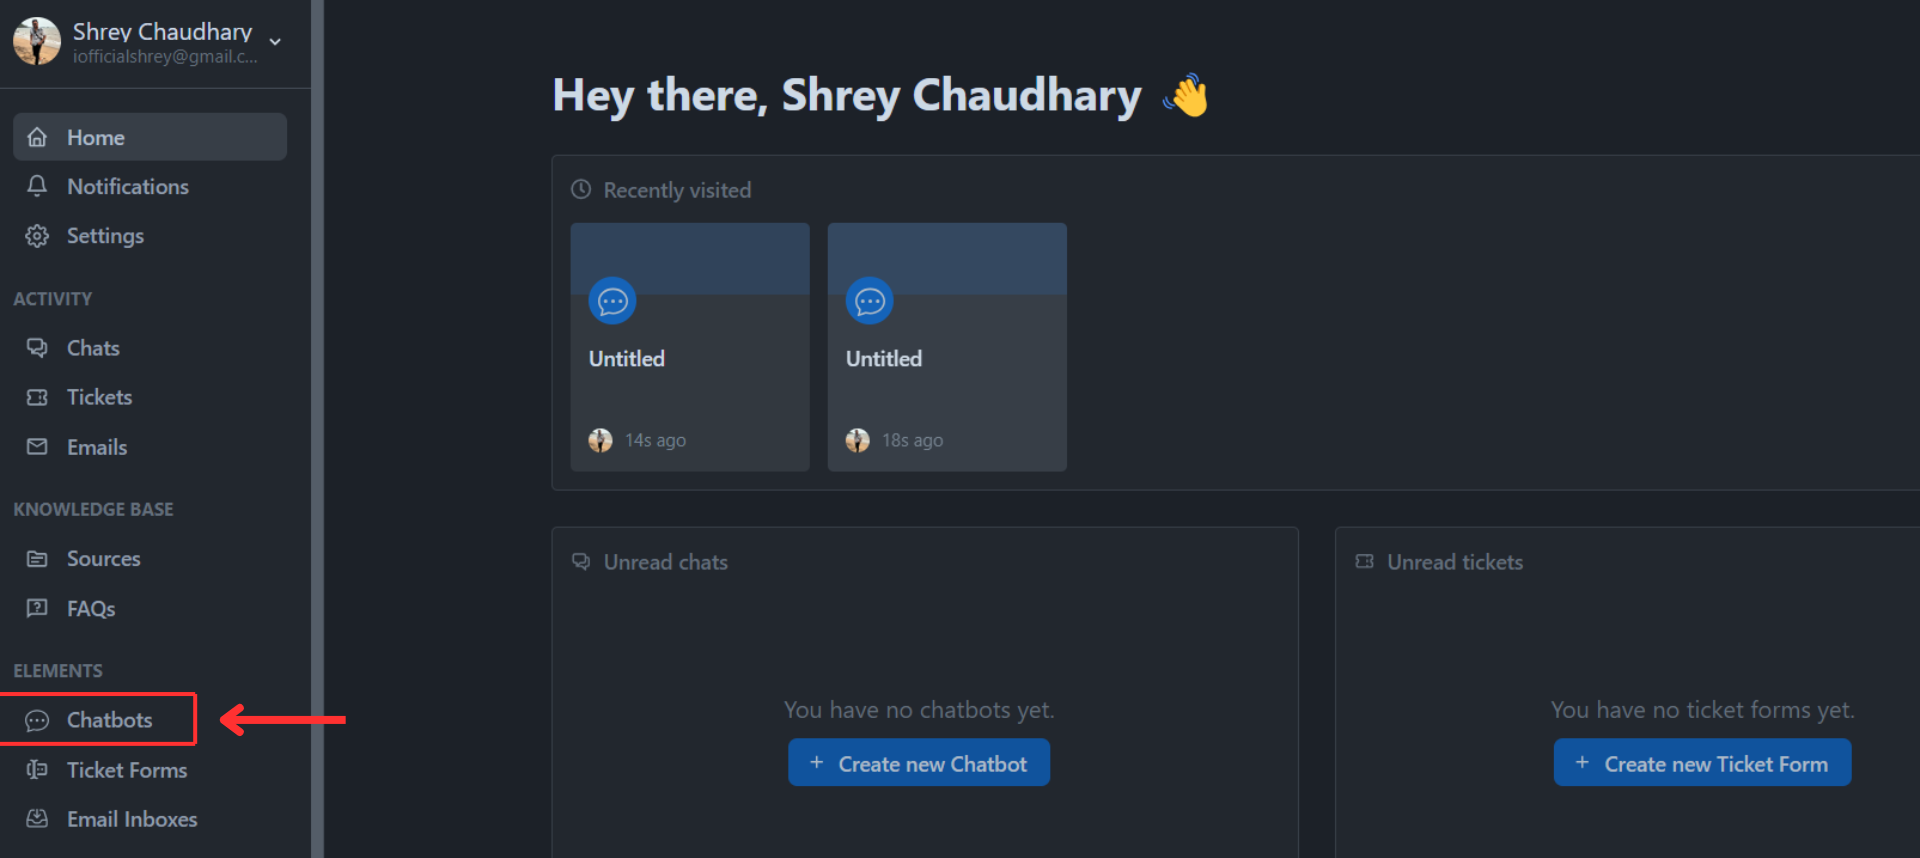
- Click on Create a new chatbot.
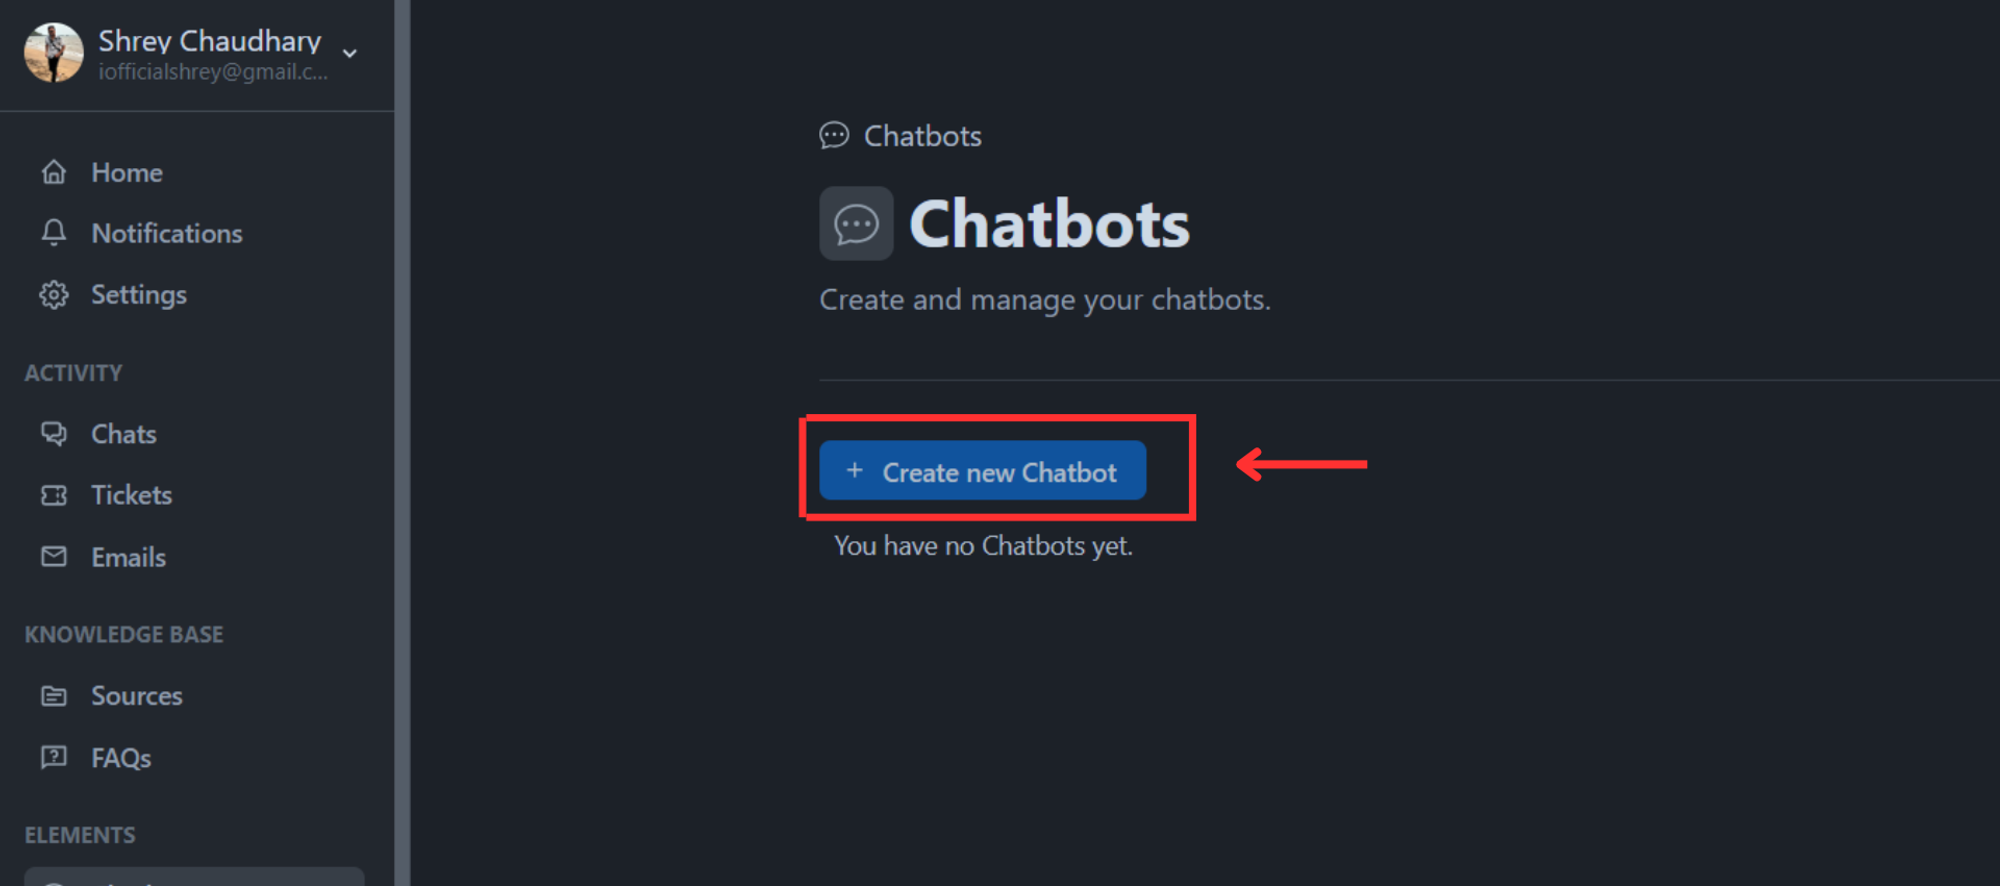
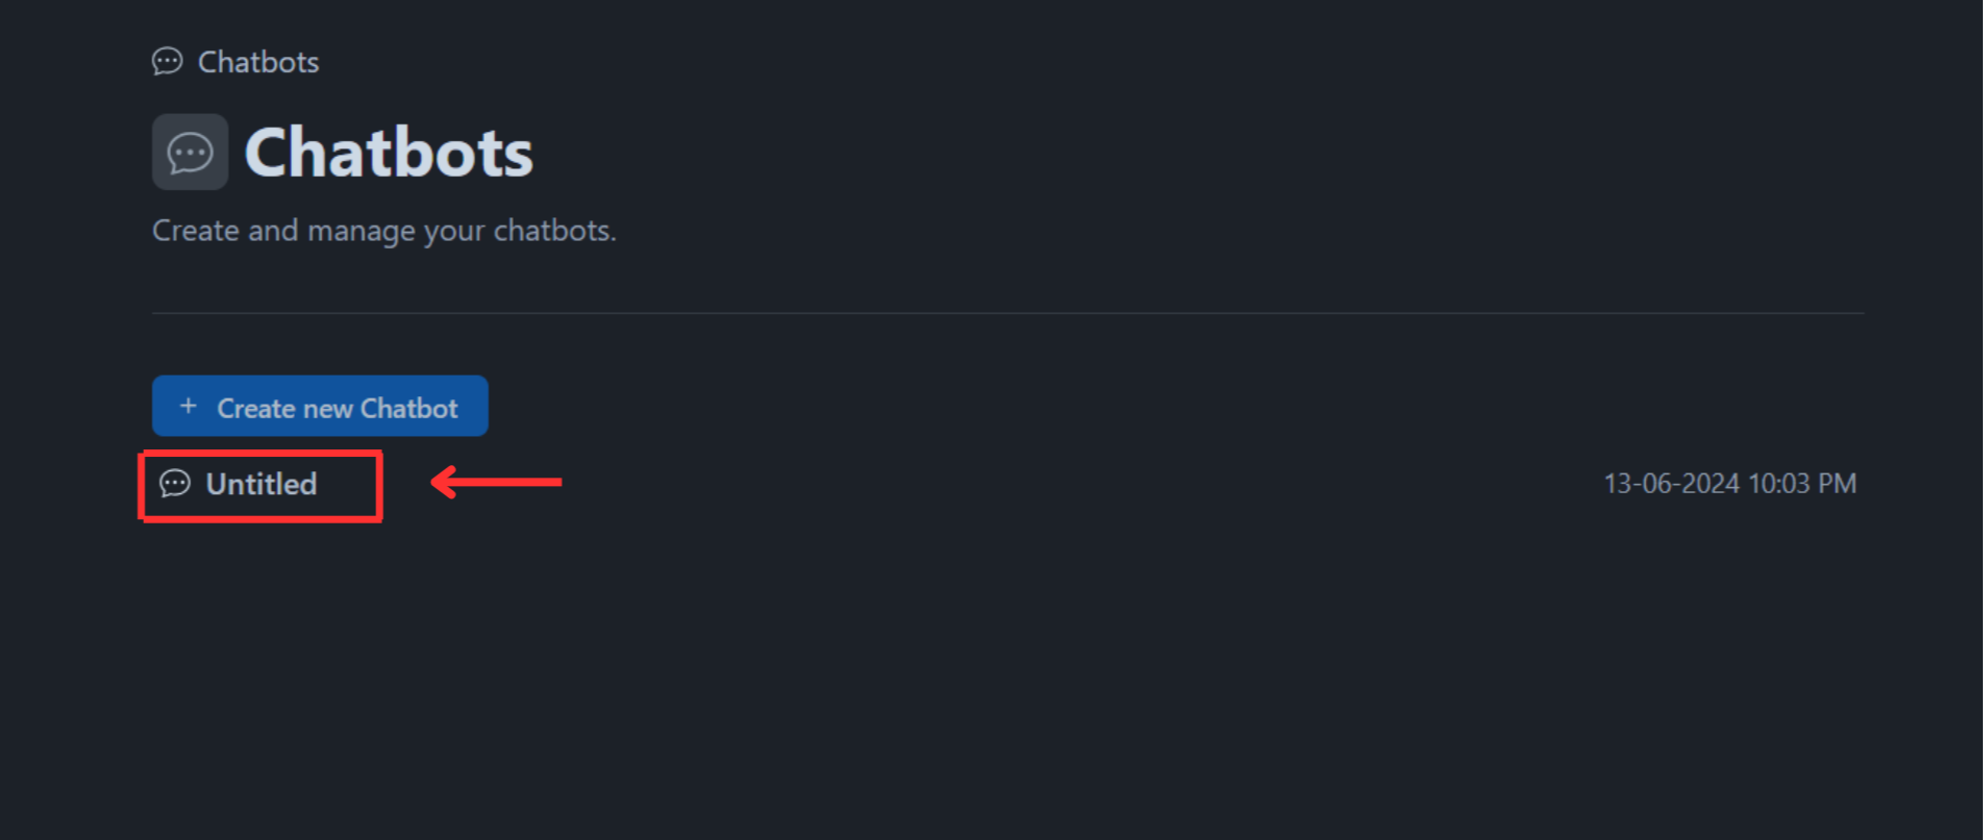
- A new chatbot will be created by the default name Untitled.
Click on it to edit your newly created chatbot.
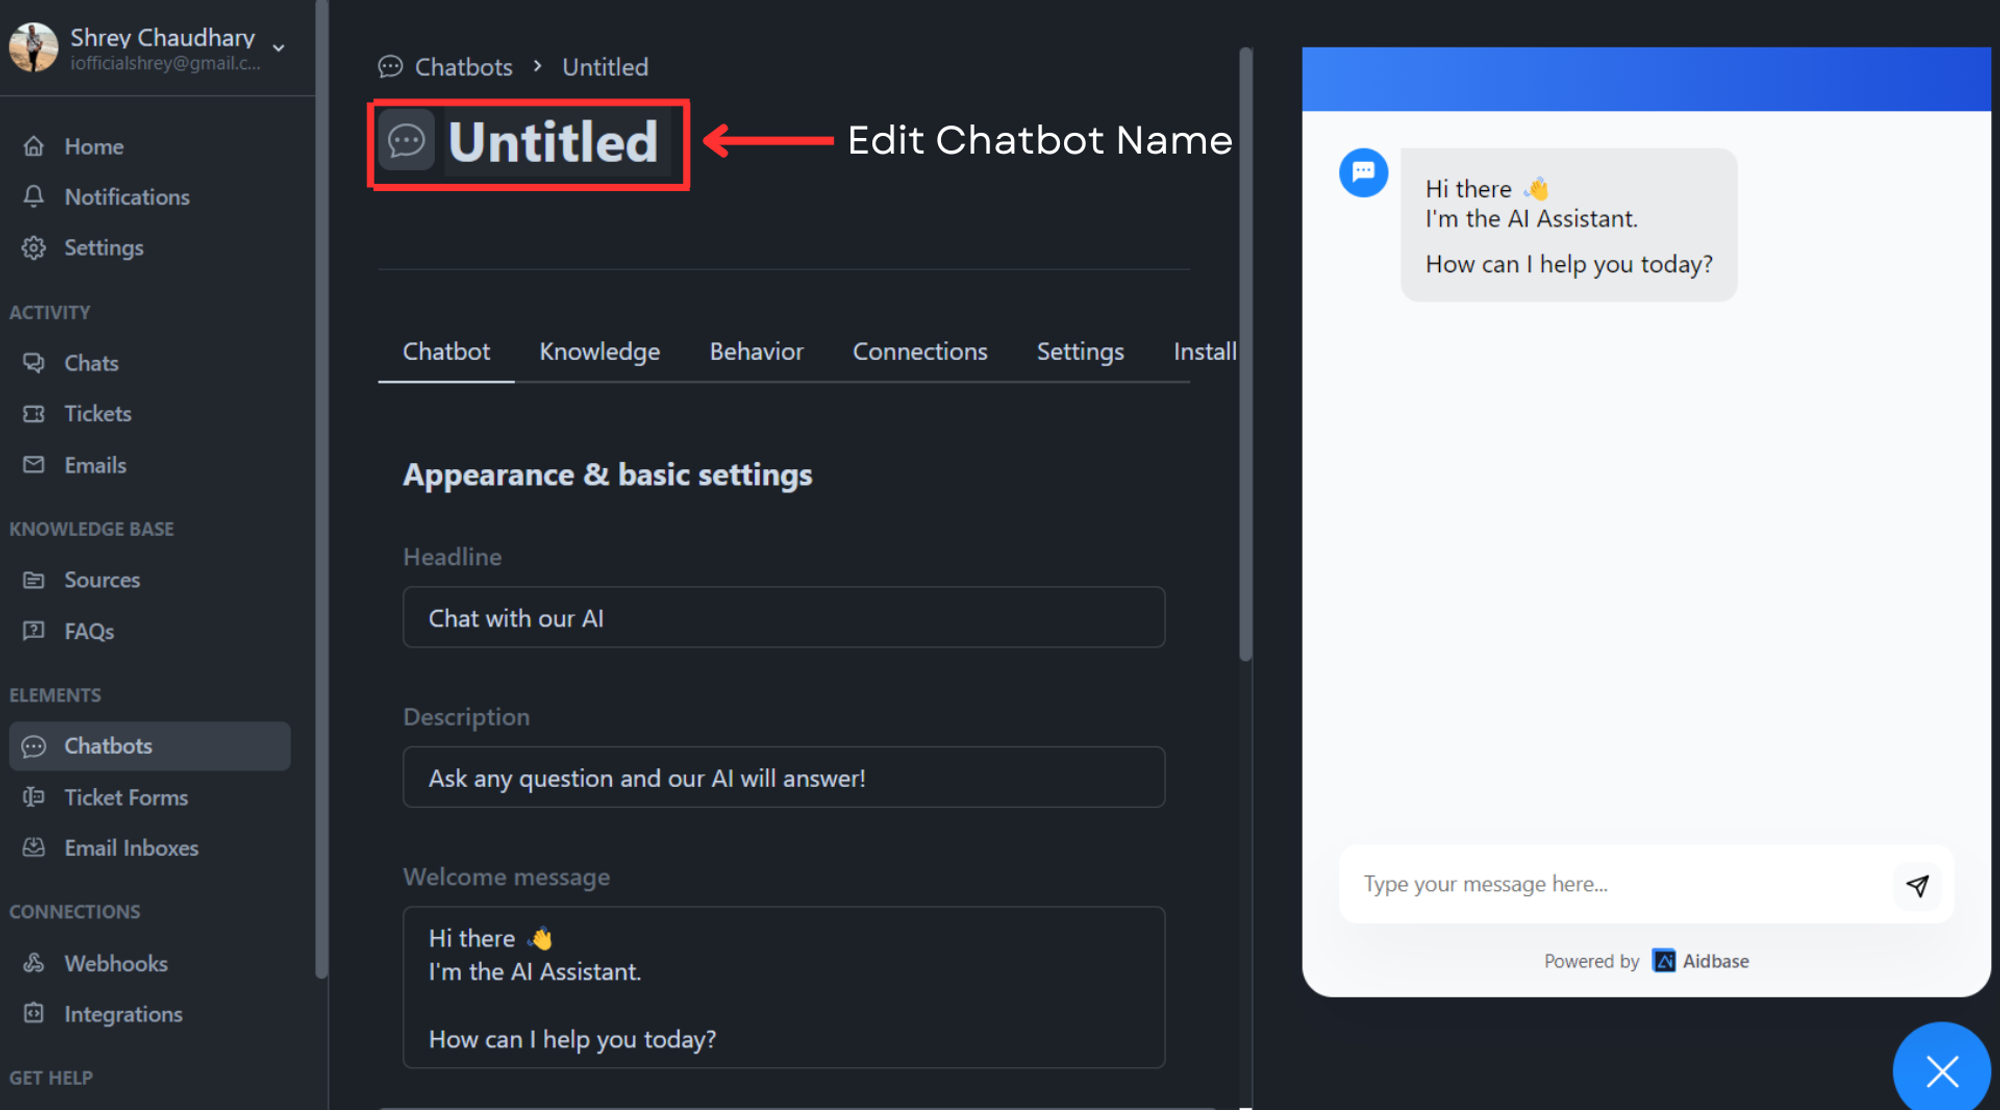
- Once you open it, you will get multiple options to edit and configure your AI Chatbot as per your requirements.
Appearance & basic settings
You can always change the way your chatbot looks and behaves.
- Open your newly created chatbot.
- You can view your chatbot's appearance options and basic settings under the Chatbot tab.
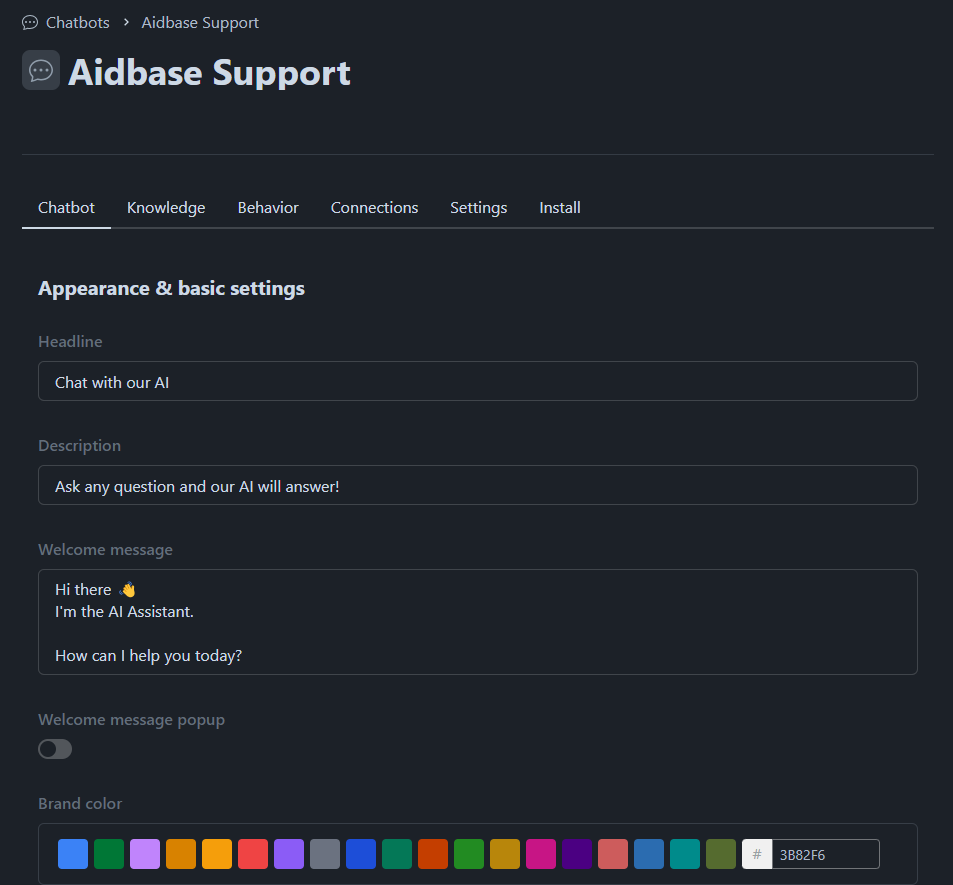
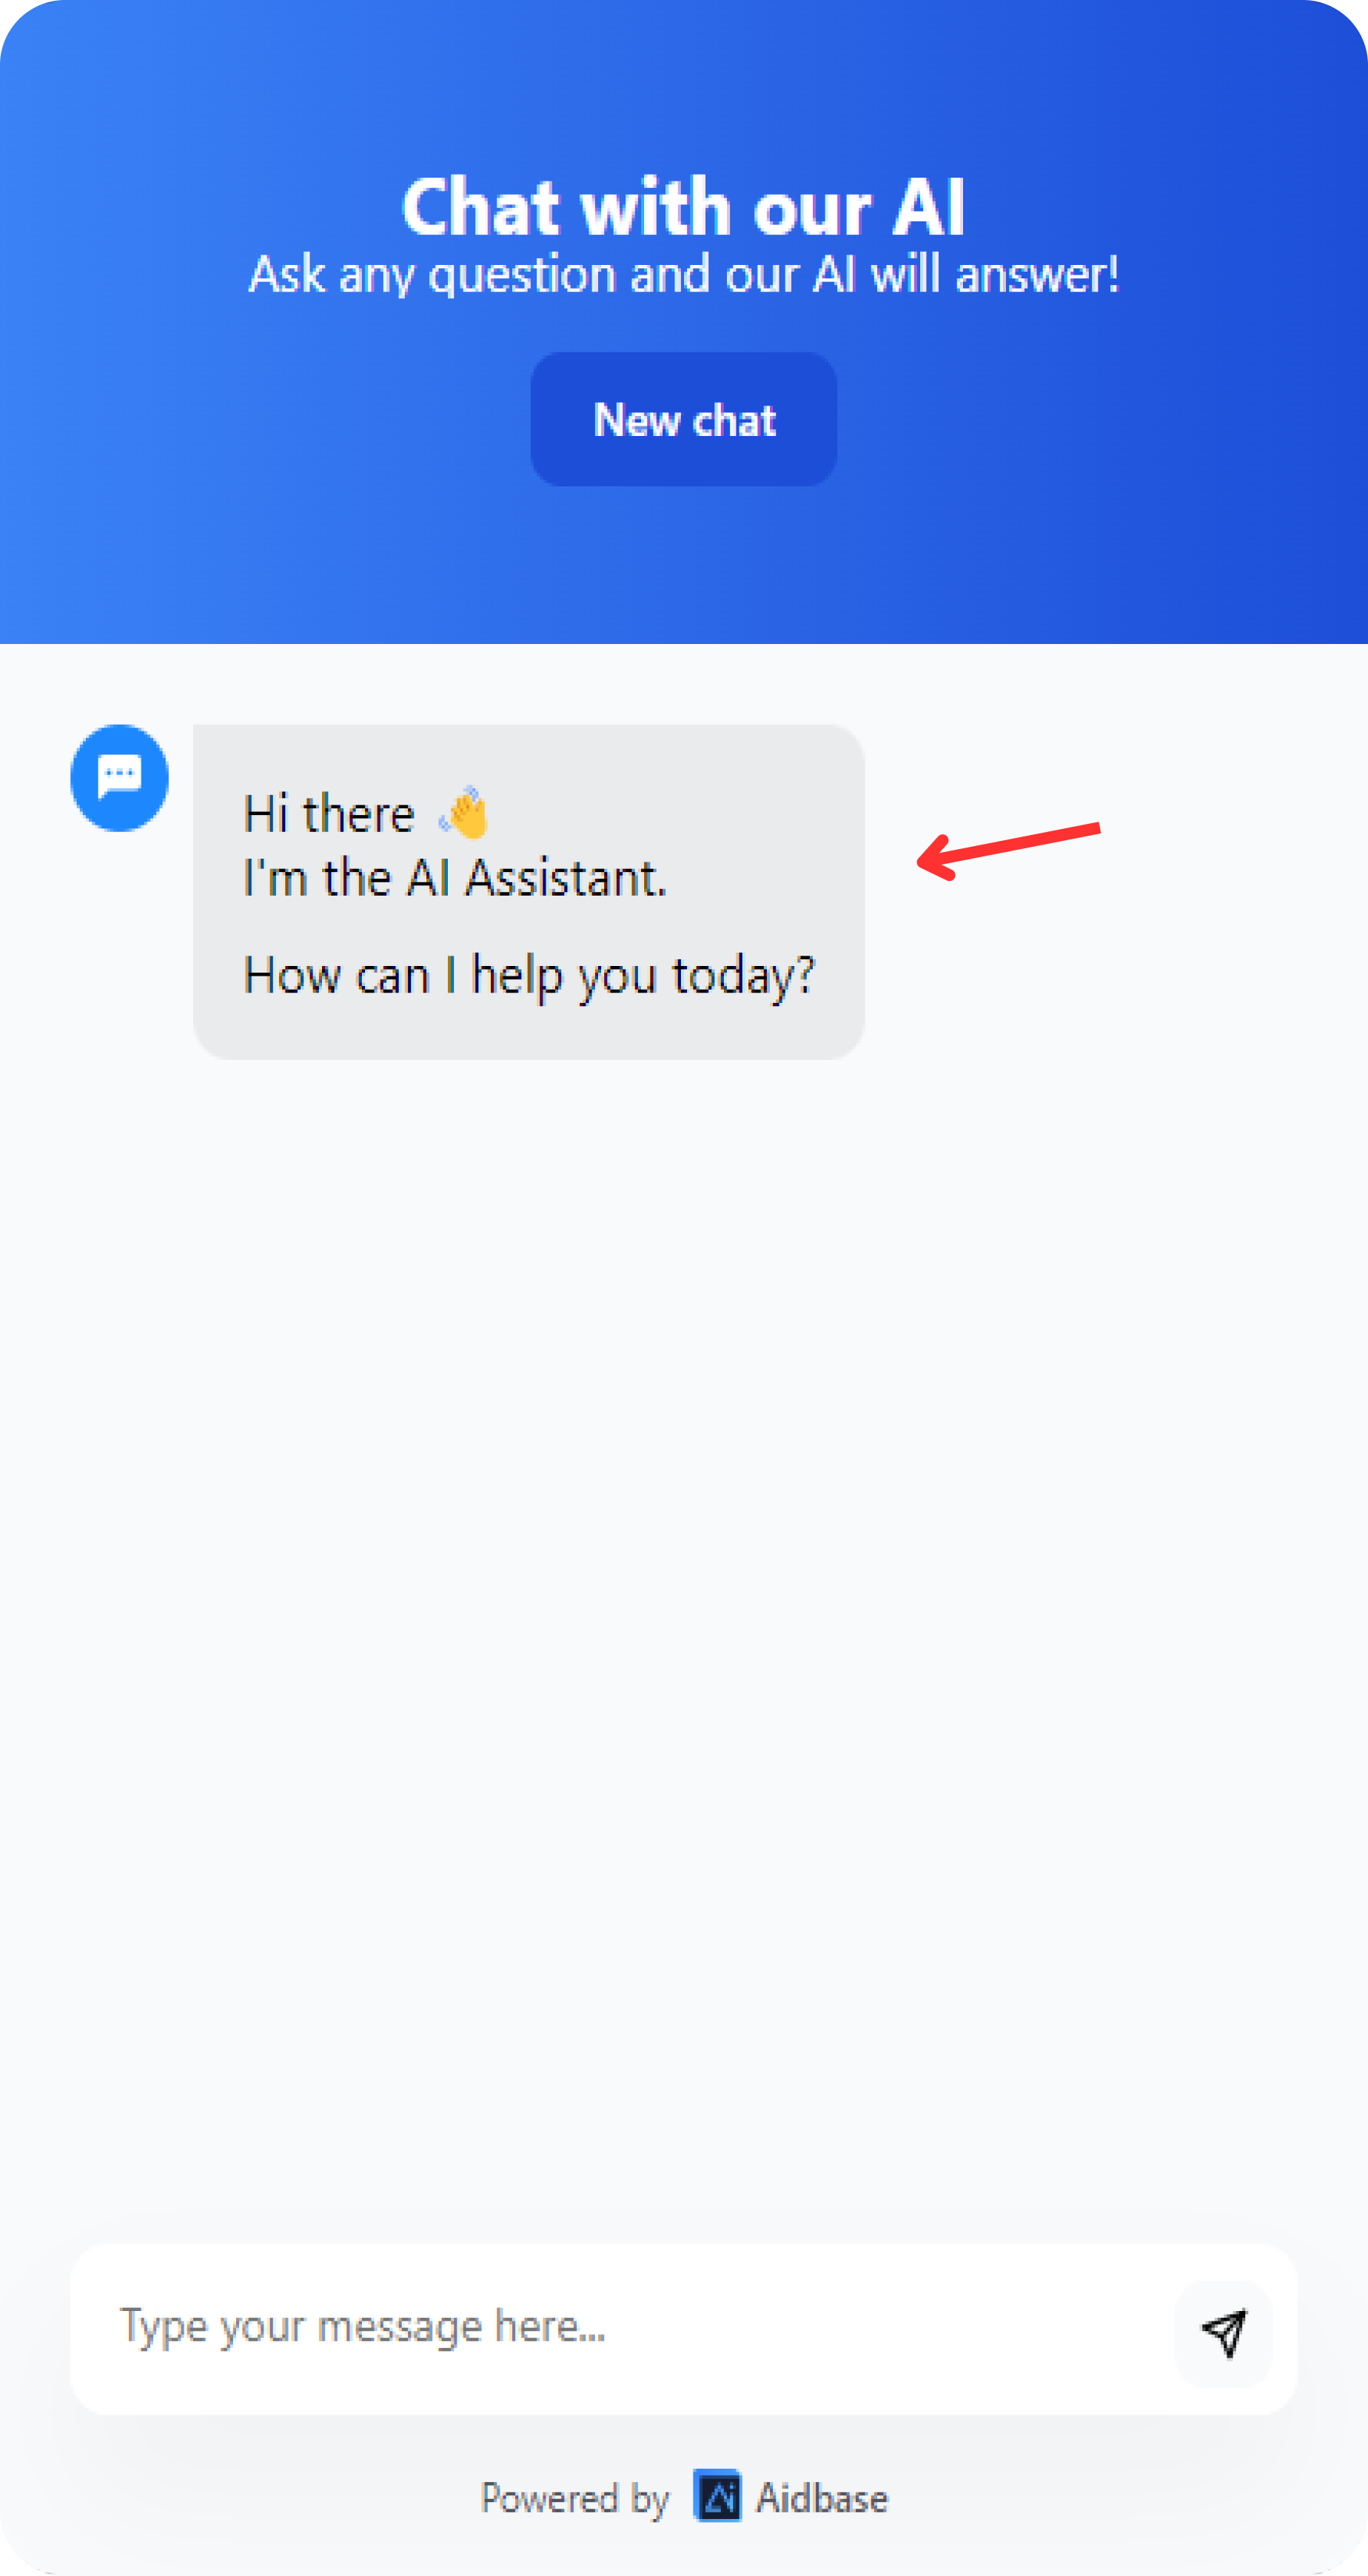
Appearance & Basic Settings has options like Headline, Description, Welcome message, and Brand color to edit. Let’s understand each one of them:
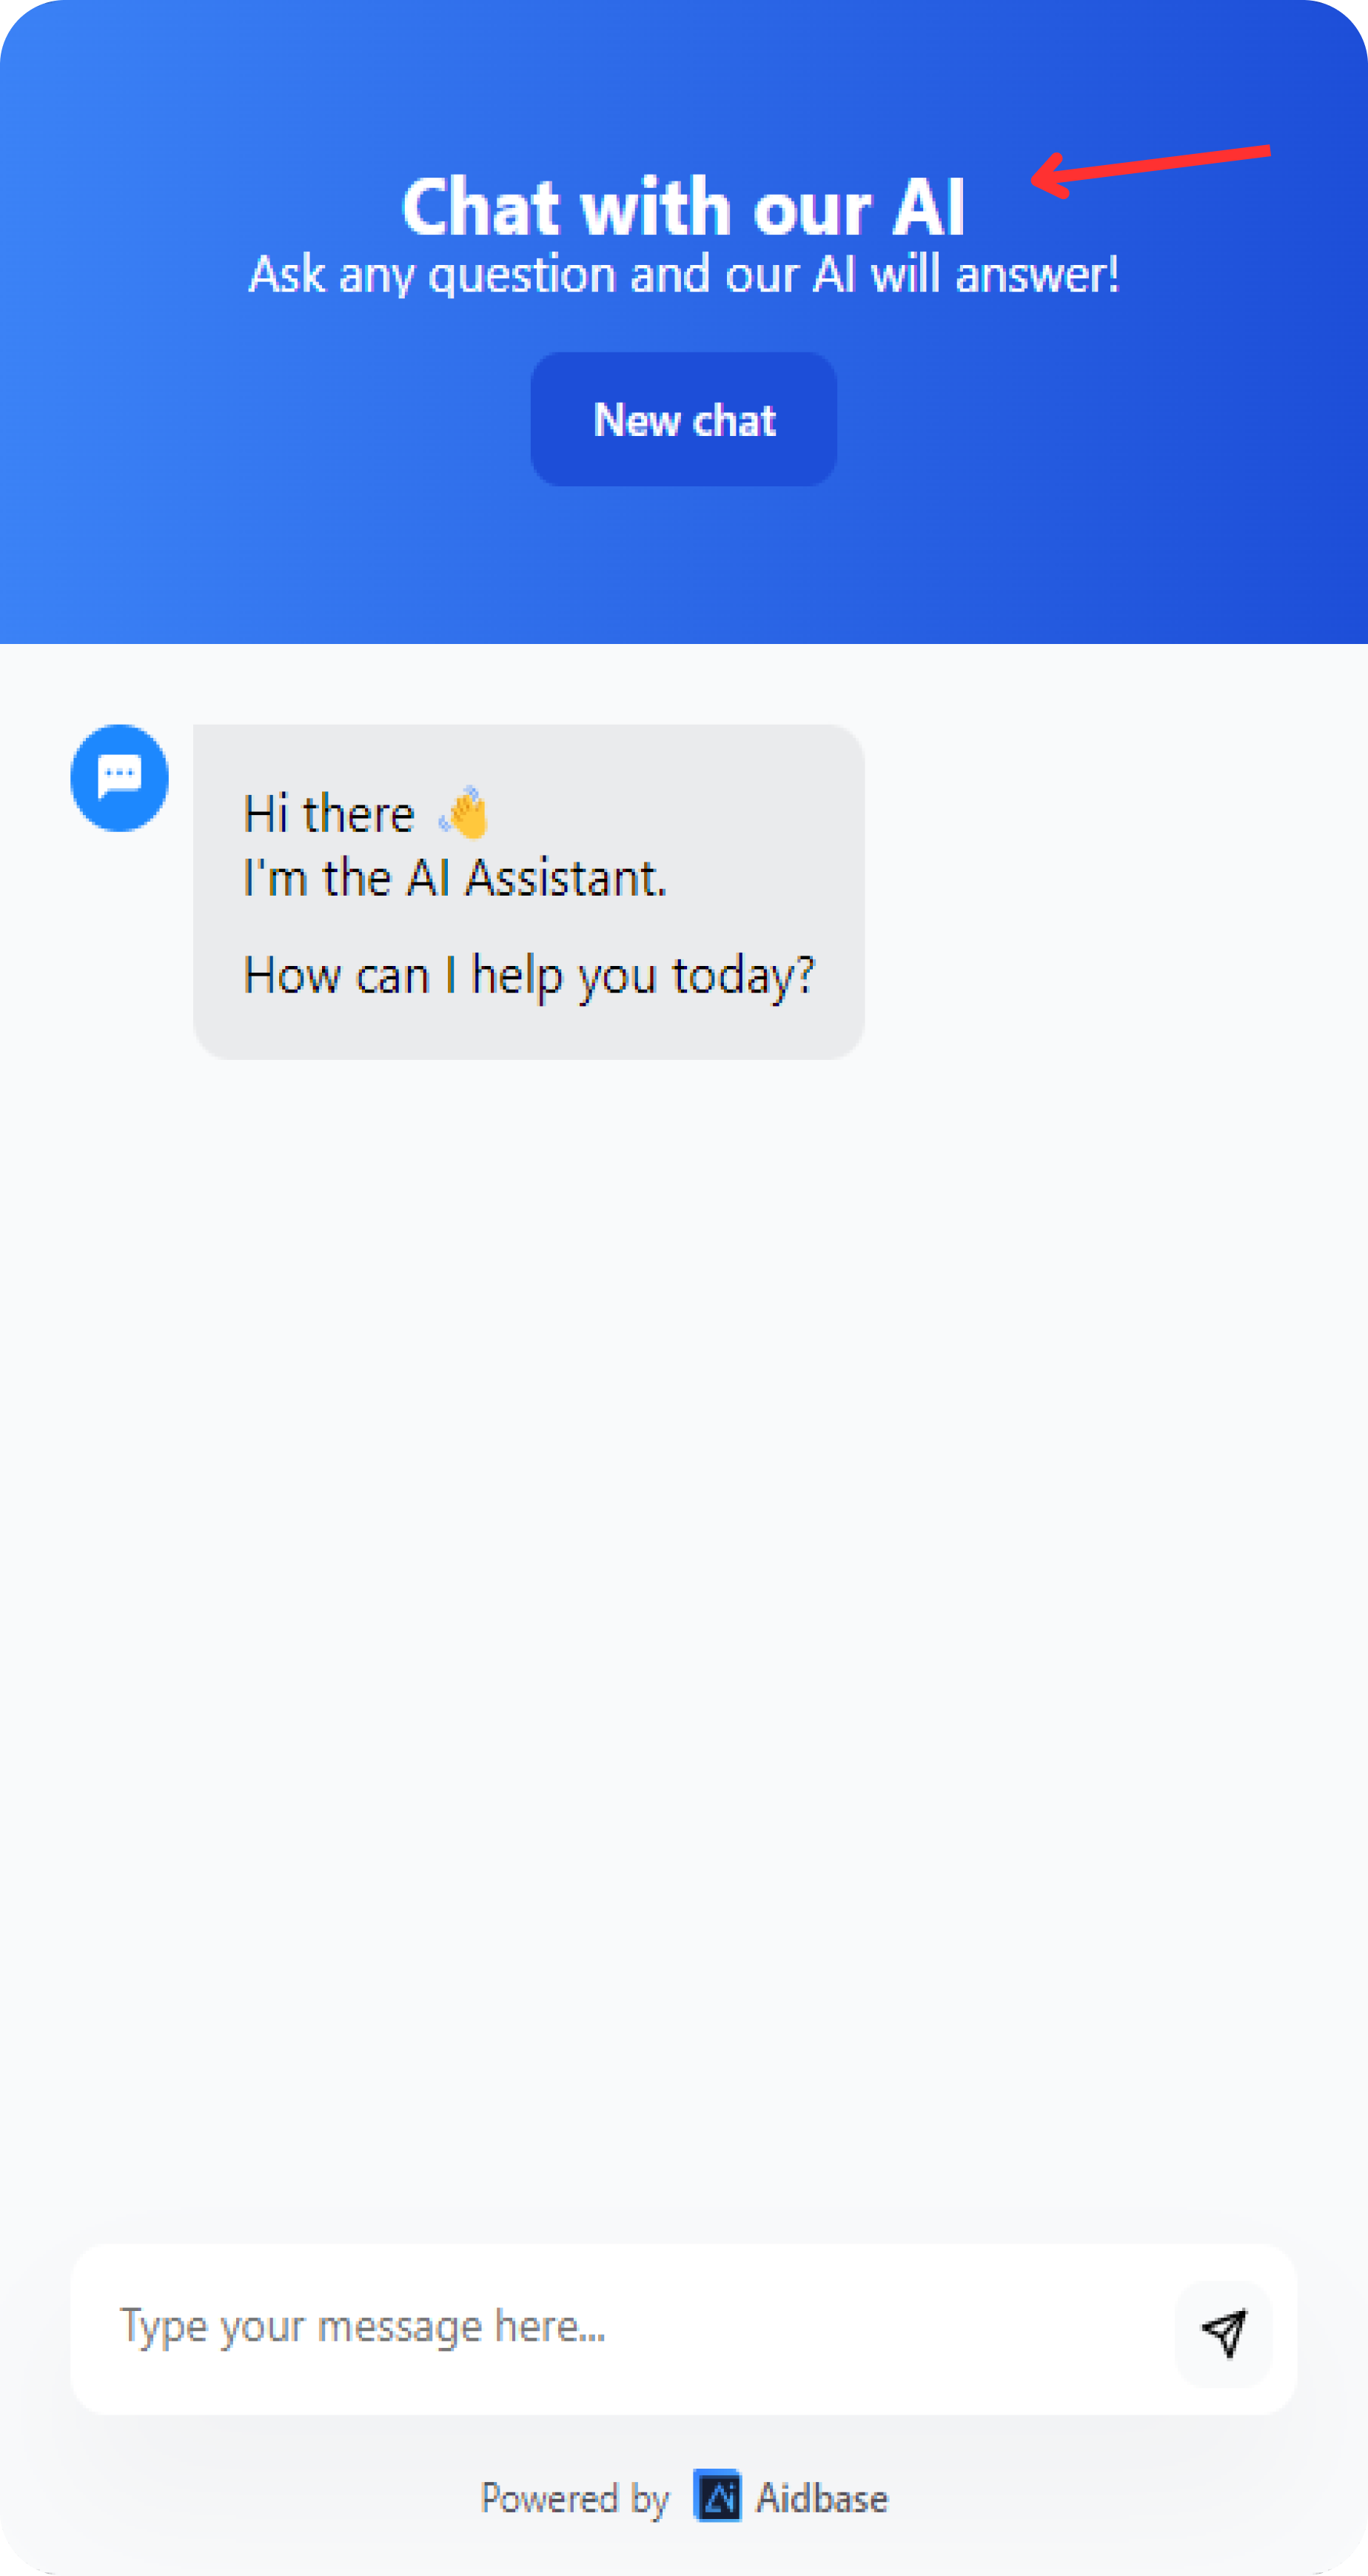
Headline
It is the topmost text that appears on the chatbot.
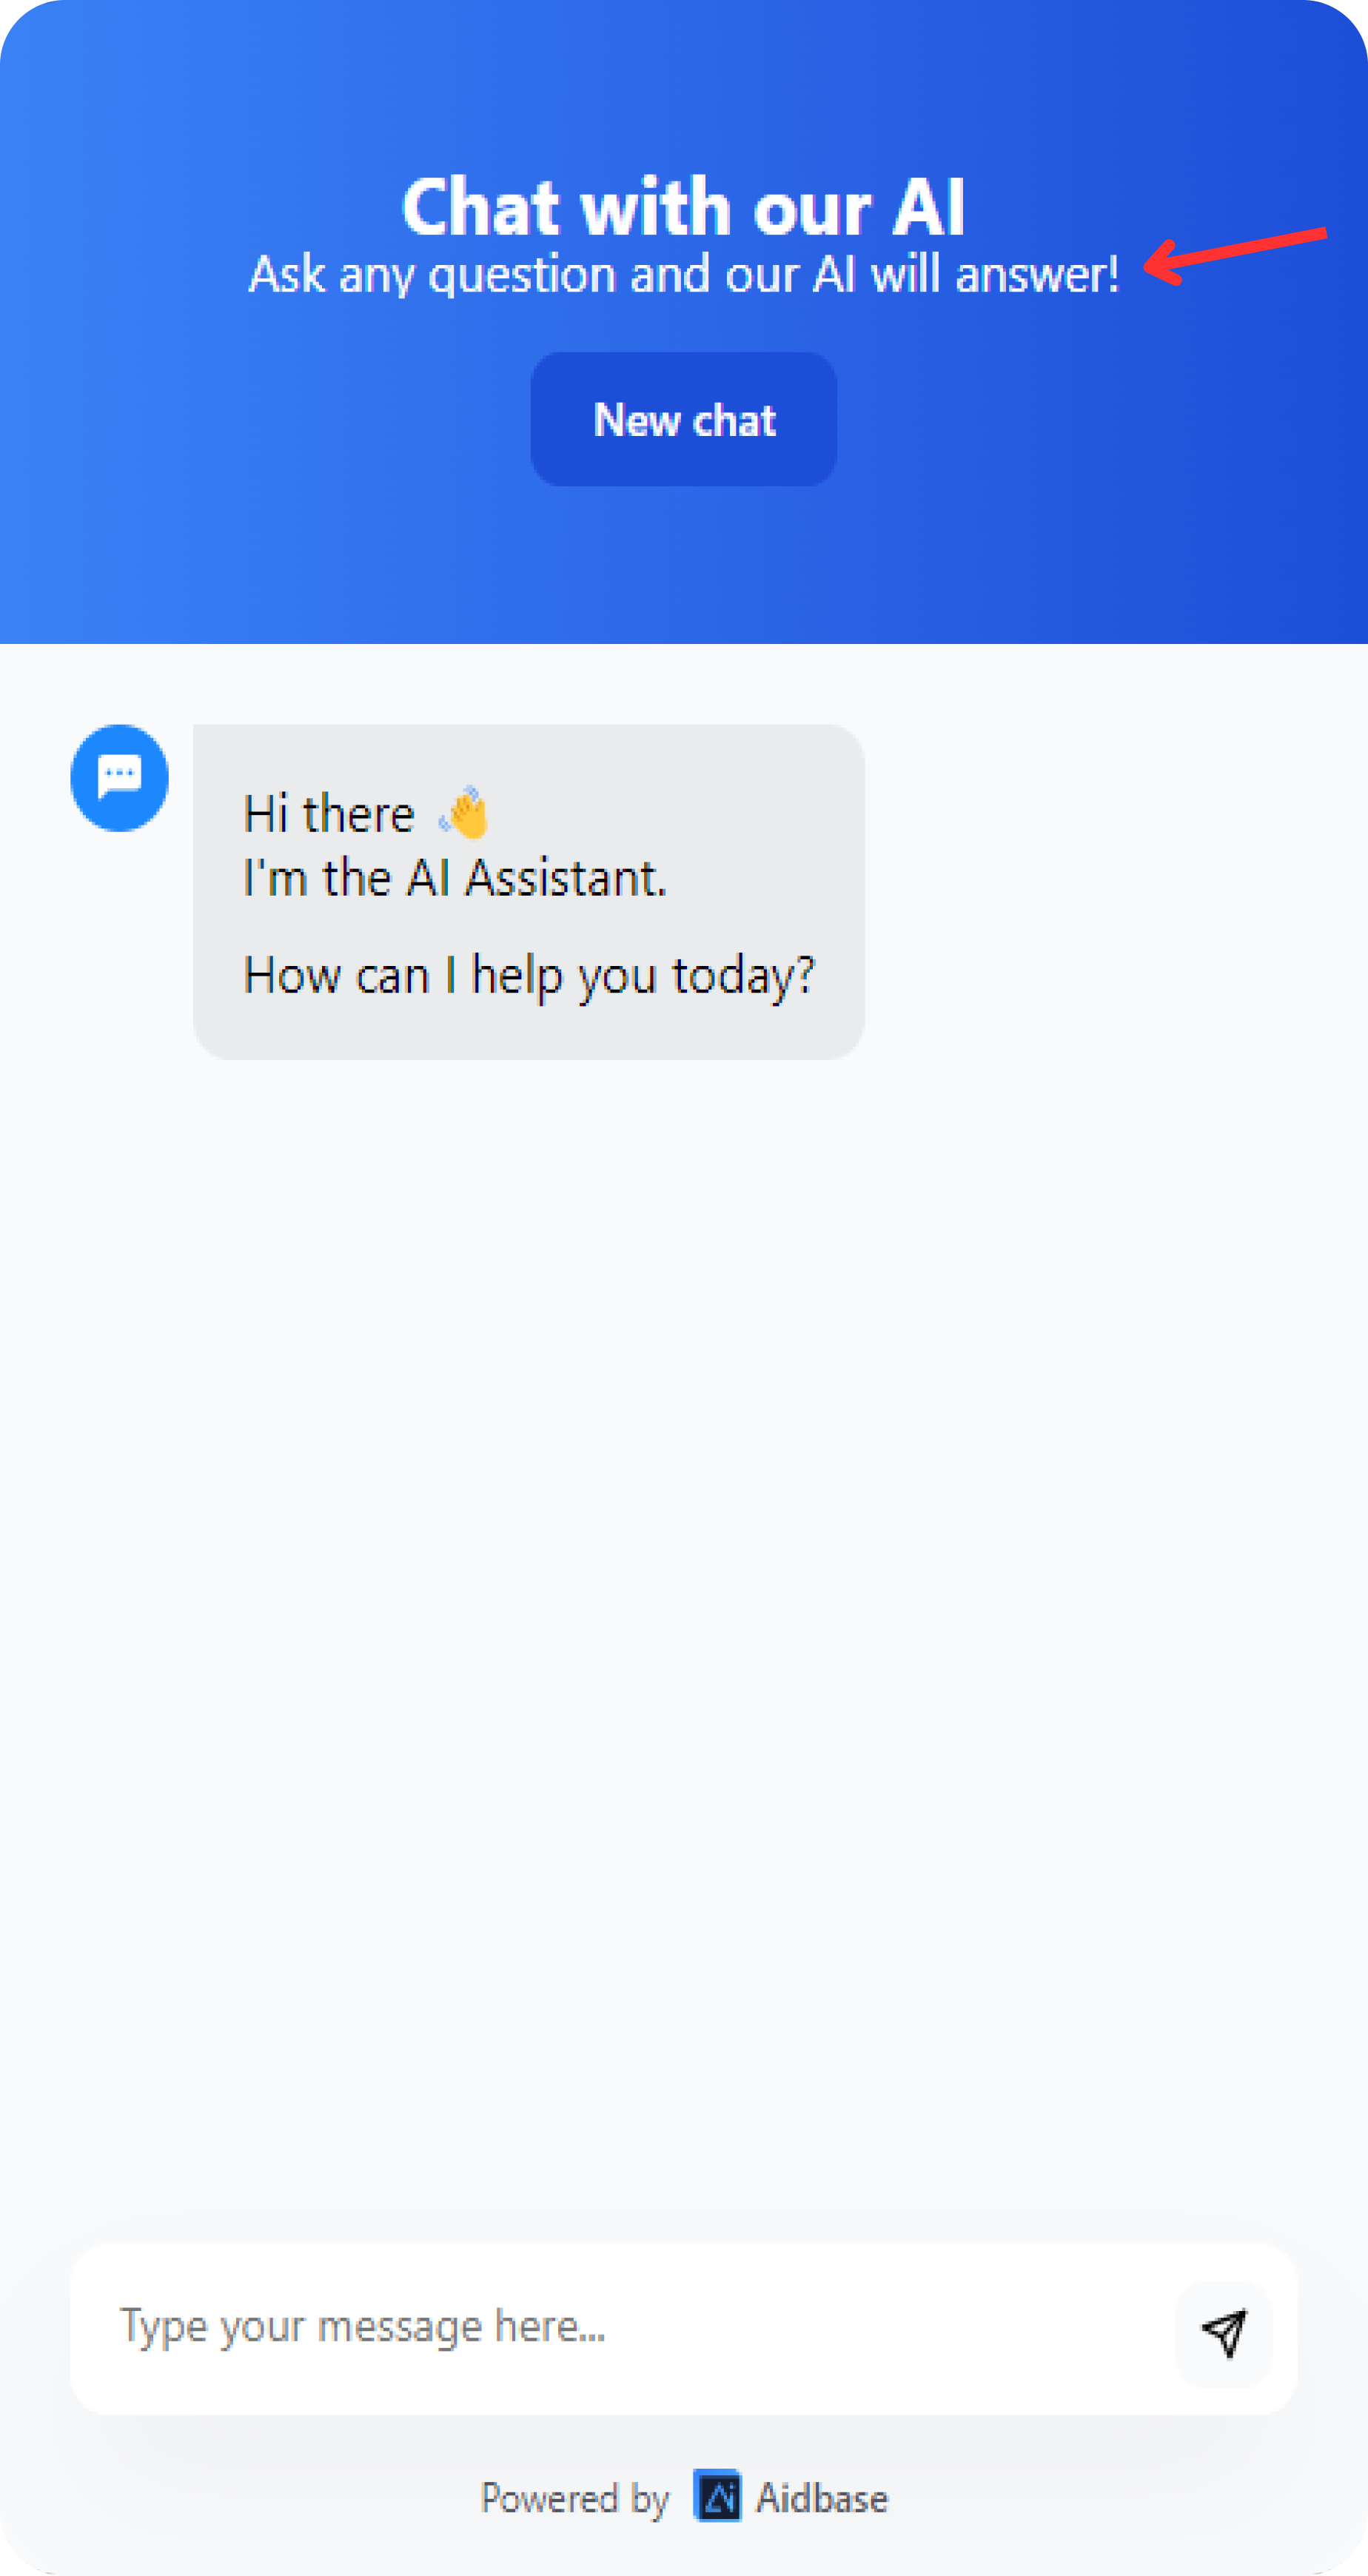
Description
It is the second line of text on the chatbot popup. This is the area where you describe your chatbot and how it can help the users.
Welcome Message
This section can be used to welcome the users before he/she starts using the chatbot.
Brand Color
The overall chatbot can be changed by using the option brand color available at the bottom of the page.
Custom Instructions
You can add your custom instructions to the AI chatbot. Follow the below steps to set up custom instructions.
- Open the chatbot in which you want to add the custom instructions.
- Select the Behavior Tab.
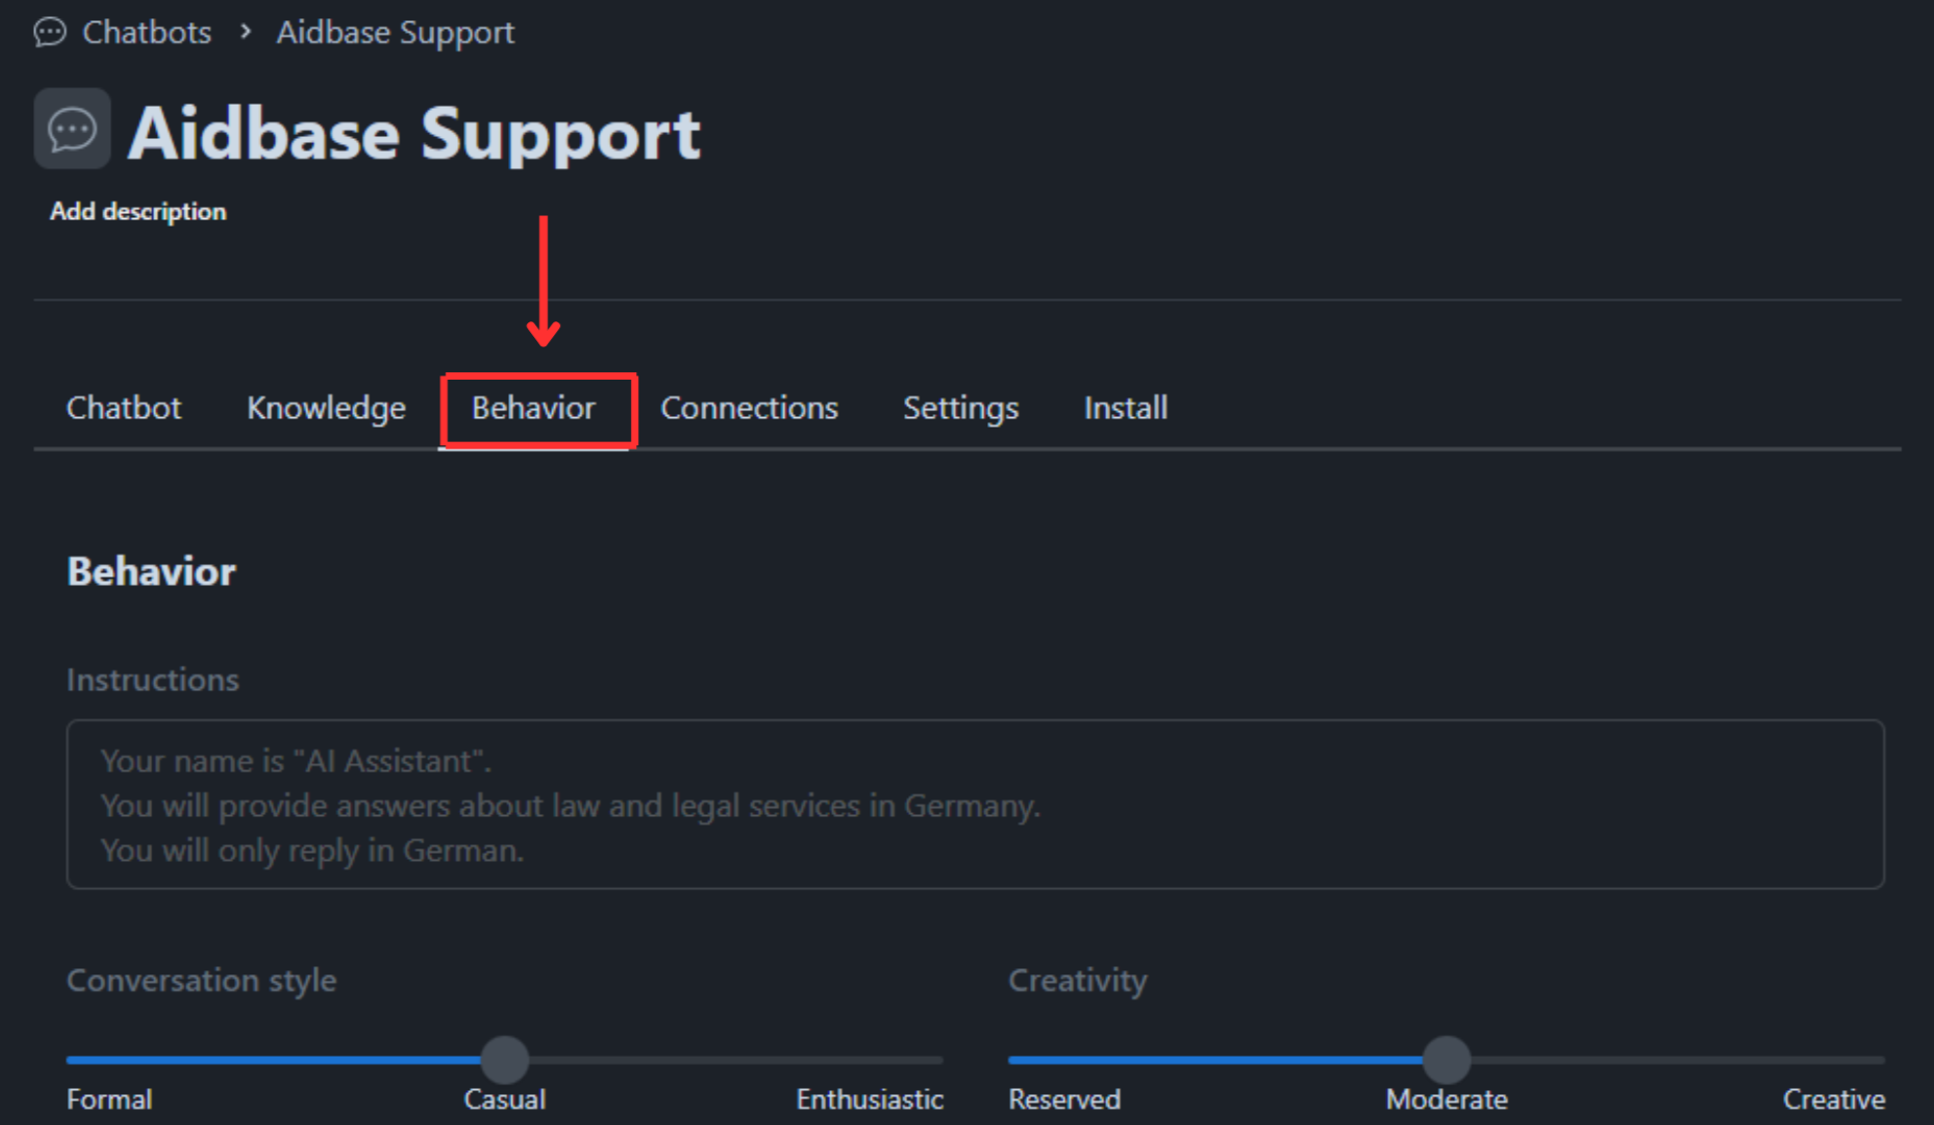
- Under the Behavior tab, you can add your custom instructions.
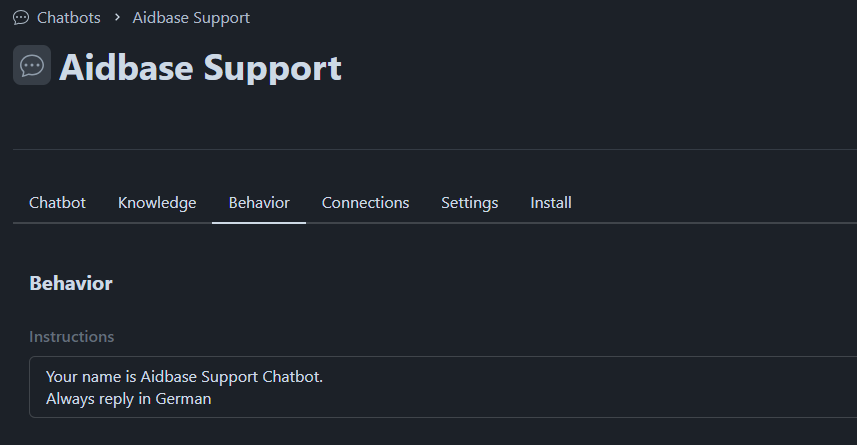
These instructions can be anything that helps your AI support to answer and solve users’ questions, issues, and queries efficiently.
For example, If you want AI to always have a conversation in German, you can simply add instructions to “Always reply in German”.
Conversation Style & Creativity
Imagine you want to give a custom conversation style to your AI Chatbot that answers the user’s questions uniquely. Aidbase AI Chatbot offers three conversation styles, Formal, Casual, and Enthusiastic.
Formal: The chatbot will use full sentences, avoid contractions, and use former grammar.
Enthusiastic: it will use more upbeat language and a positive tone.
Casual: It is somewhere between “Formal” and “Enthusiastic.”
For example, Let’s say you want to greet a new user who just clicked the AI chatbot. The Aidbase chatbot can greet them in three different styles:
- Formal
Example Text: "Thank you for reaching out to us. We appreciate your interest in our services. Please let us know how we can assist you further. Have a pleasant day."
- Enthusiastic
Example Text: "Thanks so much for getting in touch with us! We're thrilled to hear you're interested in our services. Let us know how we can help you out. Have an amazing day!"
- Casual
Example Text: "Hey, thanks for reaching out! We're glad you're interested in what we do. Let us know how we can help. Have a great day!"
Here’s how you can implement any of them for your chatbot:
- Open your chatbot.
- Under the Behavior Tab, you find the conversation style slider at the bottom.
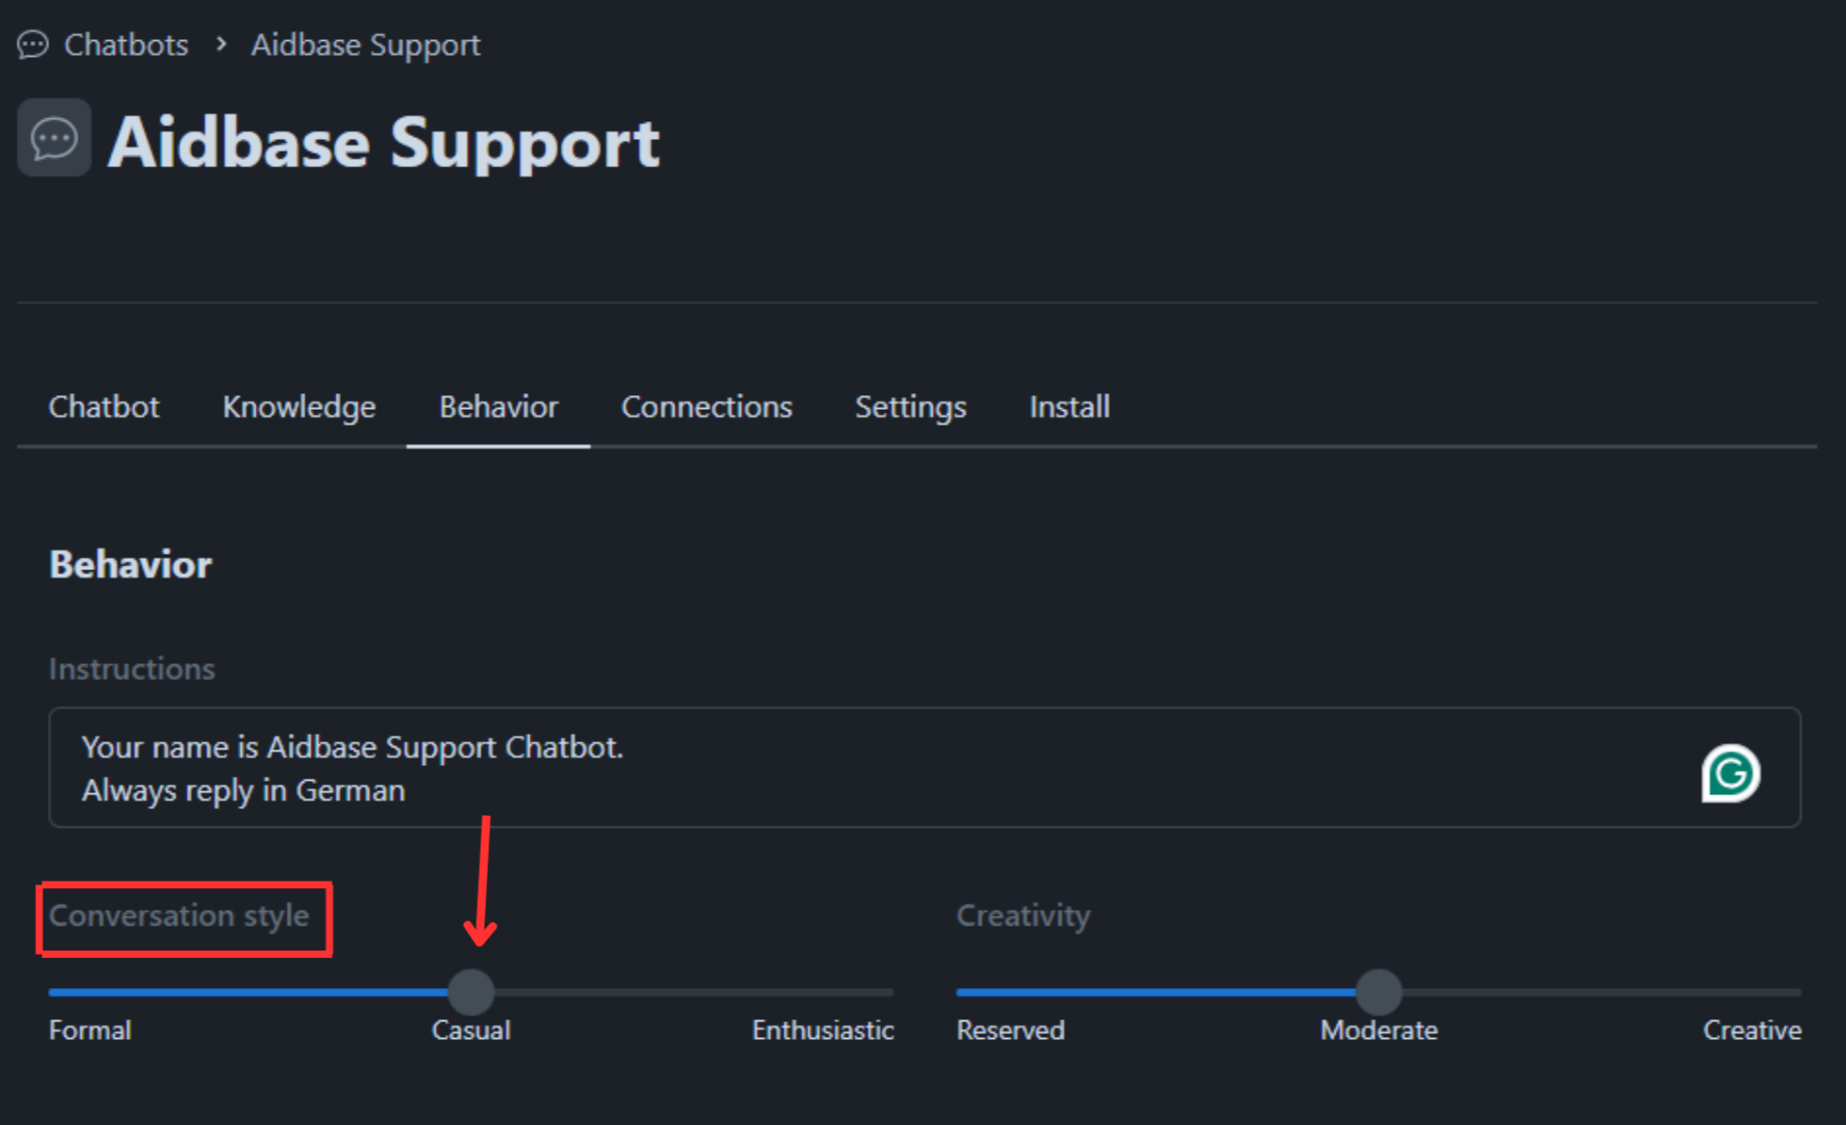
- Slide the bar for the type of conversation style you want to choose.
The very next option you will see is a creativity Slider. This slider helps you to customize the ability for your AI to improvise the answers. The slider has three modes of creativity, Reserved, Moderate, and Creative.
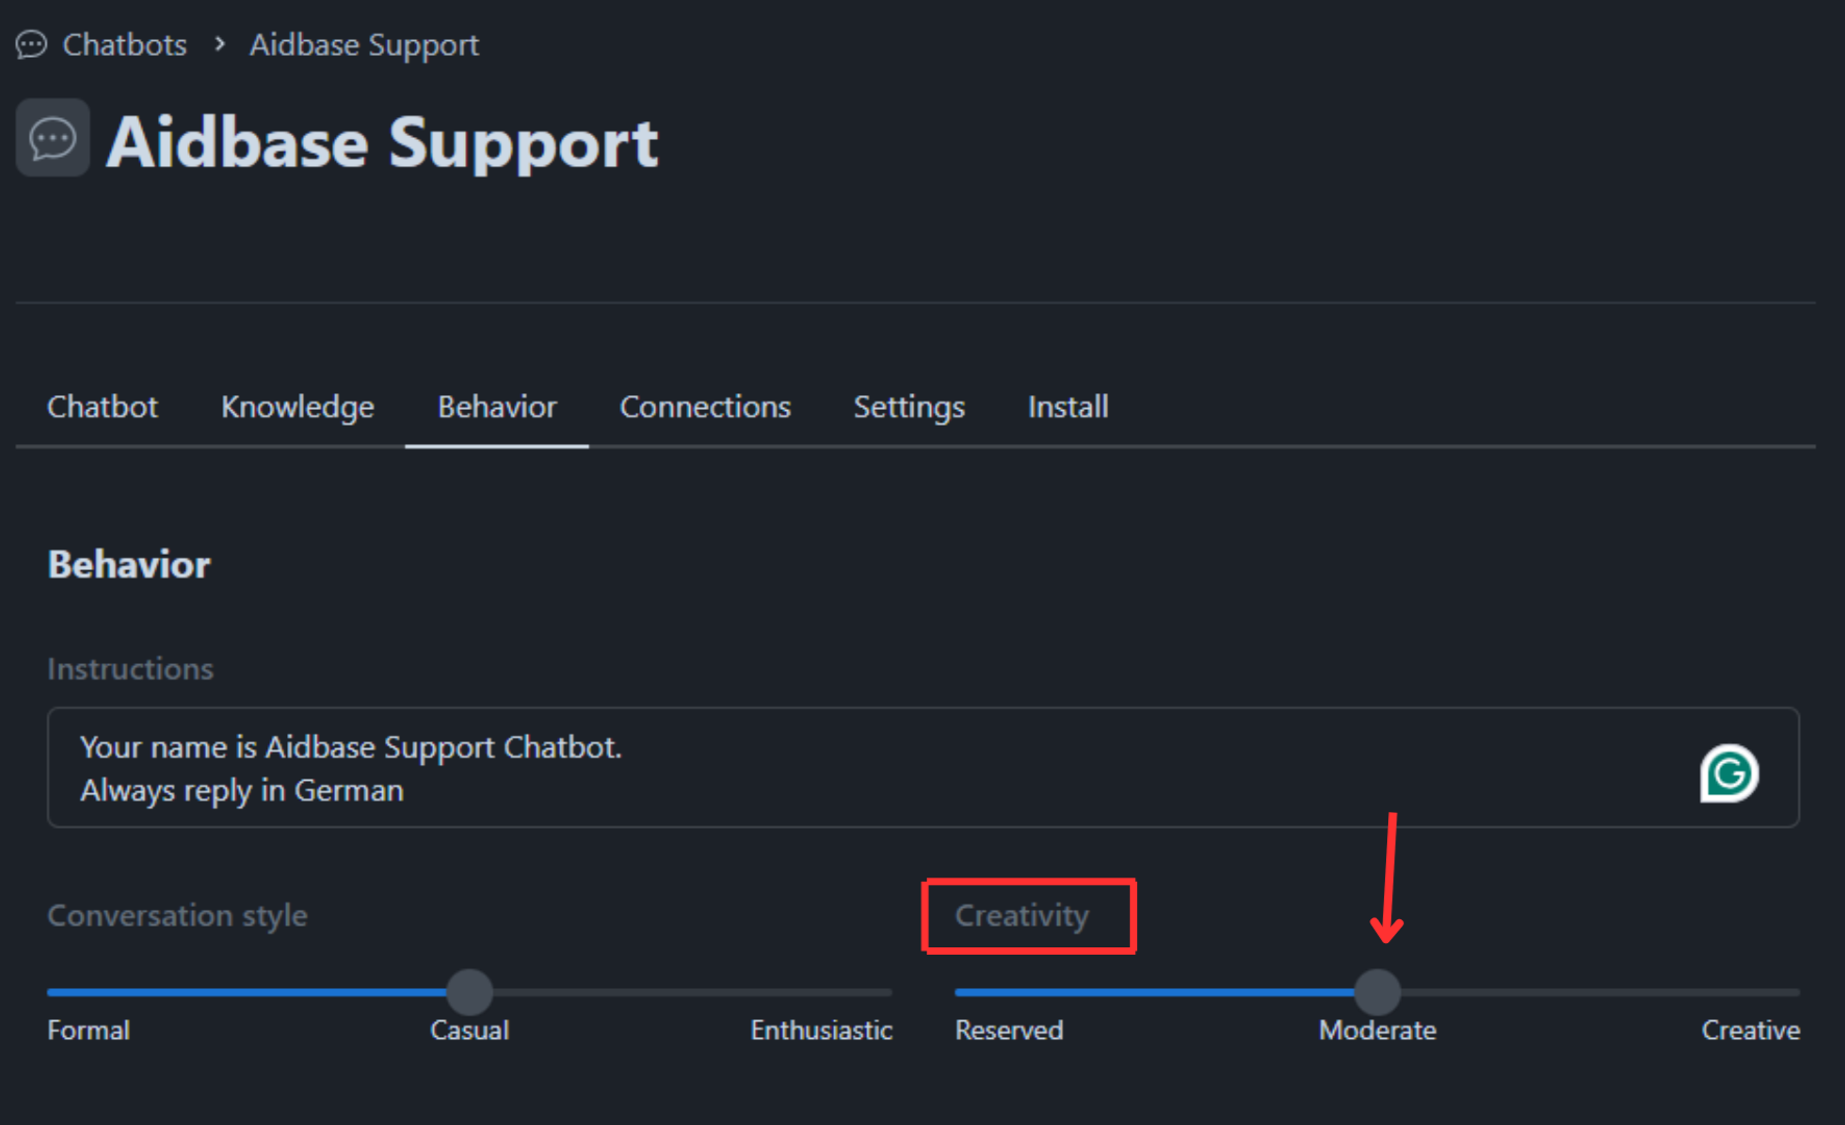
Reserved: the chatbot will strictly use the knowledge base and not attempt to make its conclusions in any way
Creative: the chatbot might improvise and assume certain answers given the knowledge it already has. Moderate: It is somewhere between Reserved and Creative.
For example, the chatbot can greet the new user in three different creative styles:
1. Reserved
Example Text: "Thank you for reaching out to us. We appreciate your interest in our services. Our operating hours are Monday to Friday, 9 AM to 5 PM. Please let us know how we can assist you further. Have a pleasant day."
2. Creative
Example Text: "Thanks so much for getting in touch with us! We're thrilled to hear you're interested in our services. While we typically operate from 9 AM to 5 PM on weekdays, we might be able to accommodate special requests outside these hours. Let us know how we can help you out. Have an amazing day!"
3. Moderate
Example Text: "Hey, thanks for reaching out! We're glad you're interested in what we do. Our usual hours are Monday to Friday, 9 AM to 5 PM, but we may have some flexibility. Let us know how we can help. Have a great day!"
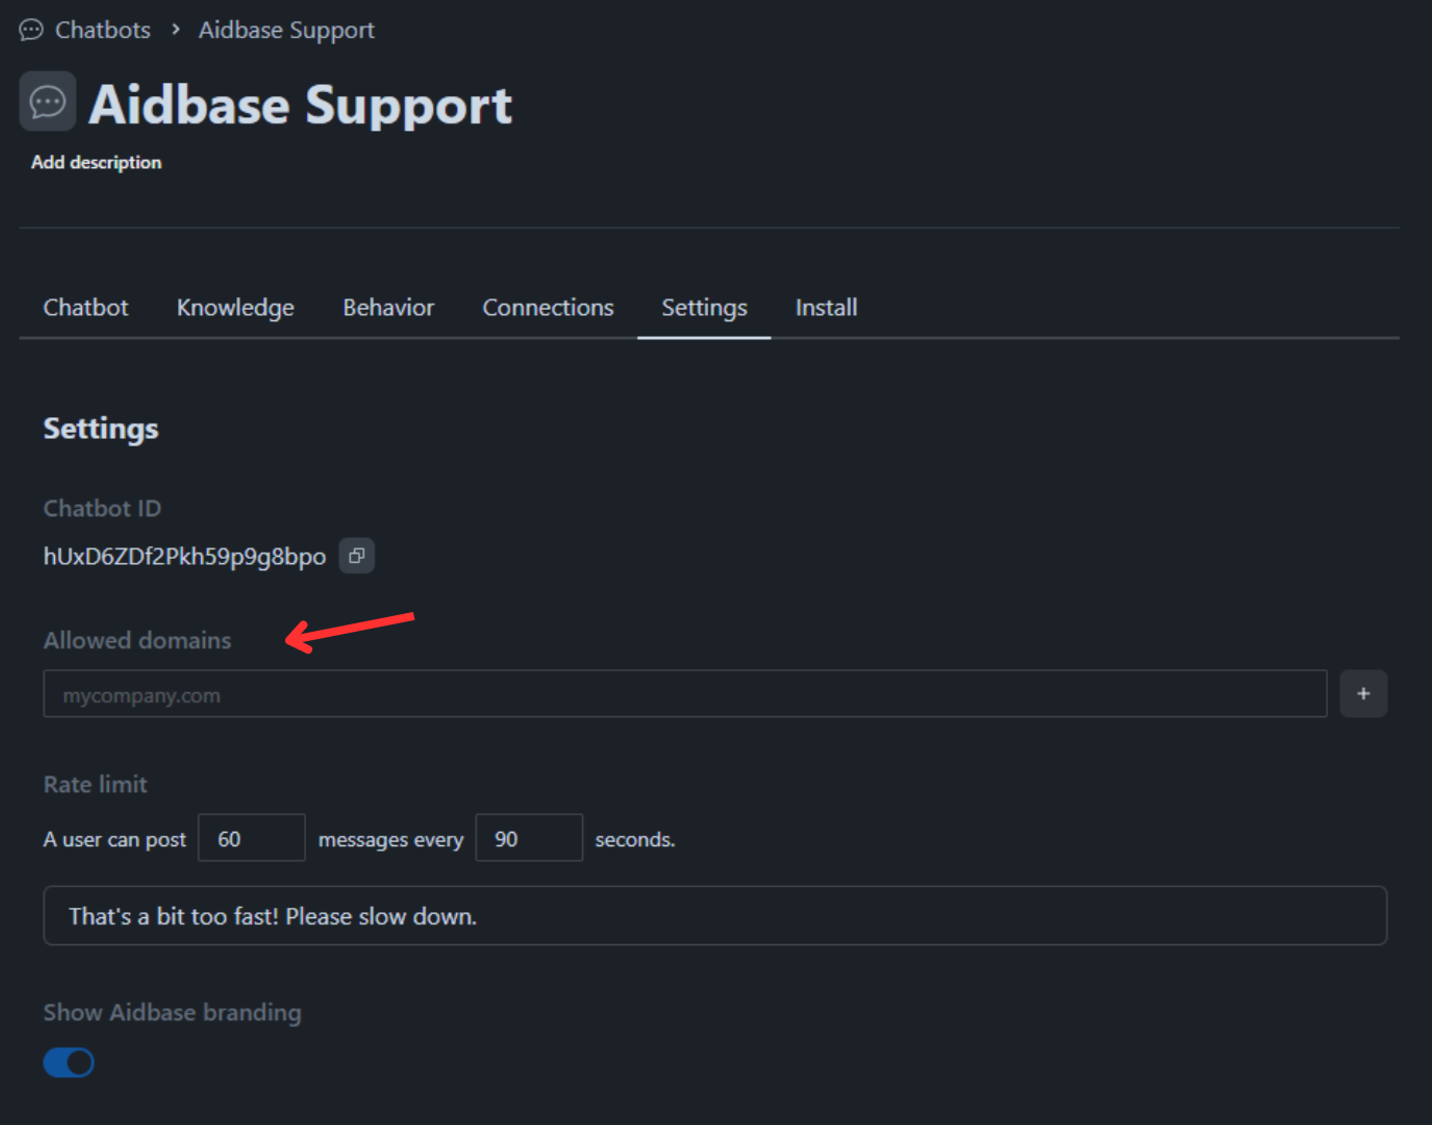
Allowed domains
You can (optionally) restrict your chatbot’s placement control. This means you can allow the chatbot to place on the allowed domains.
For example, you have created a chatbot for “Startup A” and the script for the same. If you put the “Startup A” domain under the allowed domain, the chatbot will be restricted to that particular domain. This way you can avoid the misuse of the chatbot on any other website.
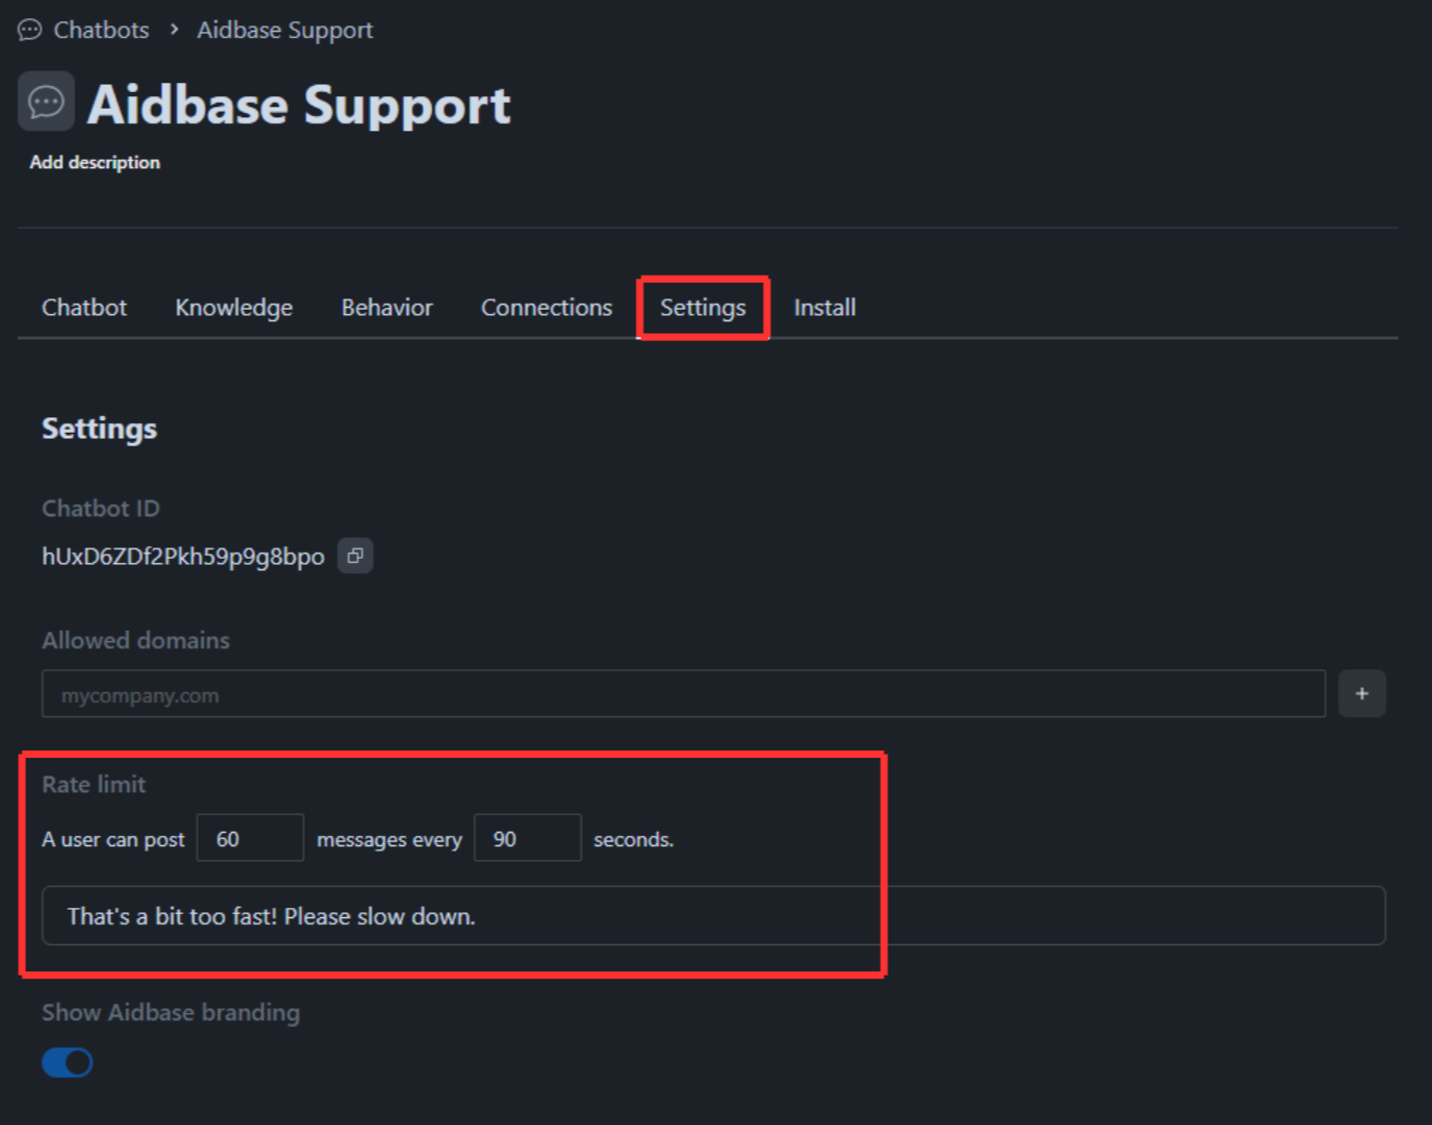
Rate Limits
Rate limits are about how many messages the chatbot can send in a particular period. You can edit the message rate limits under the Settings tab of the chatbot.
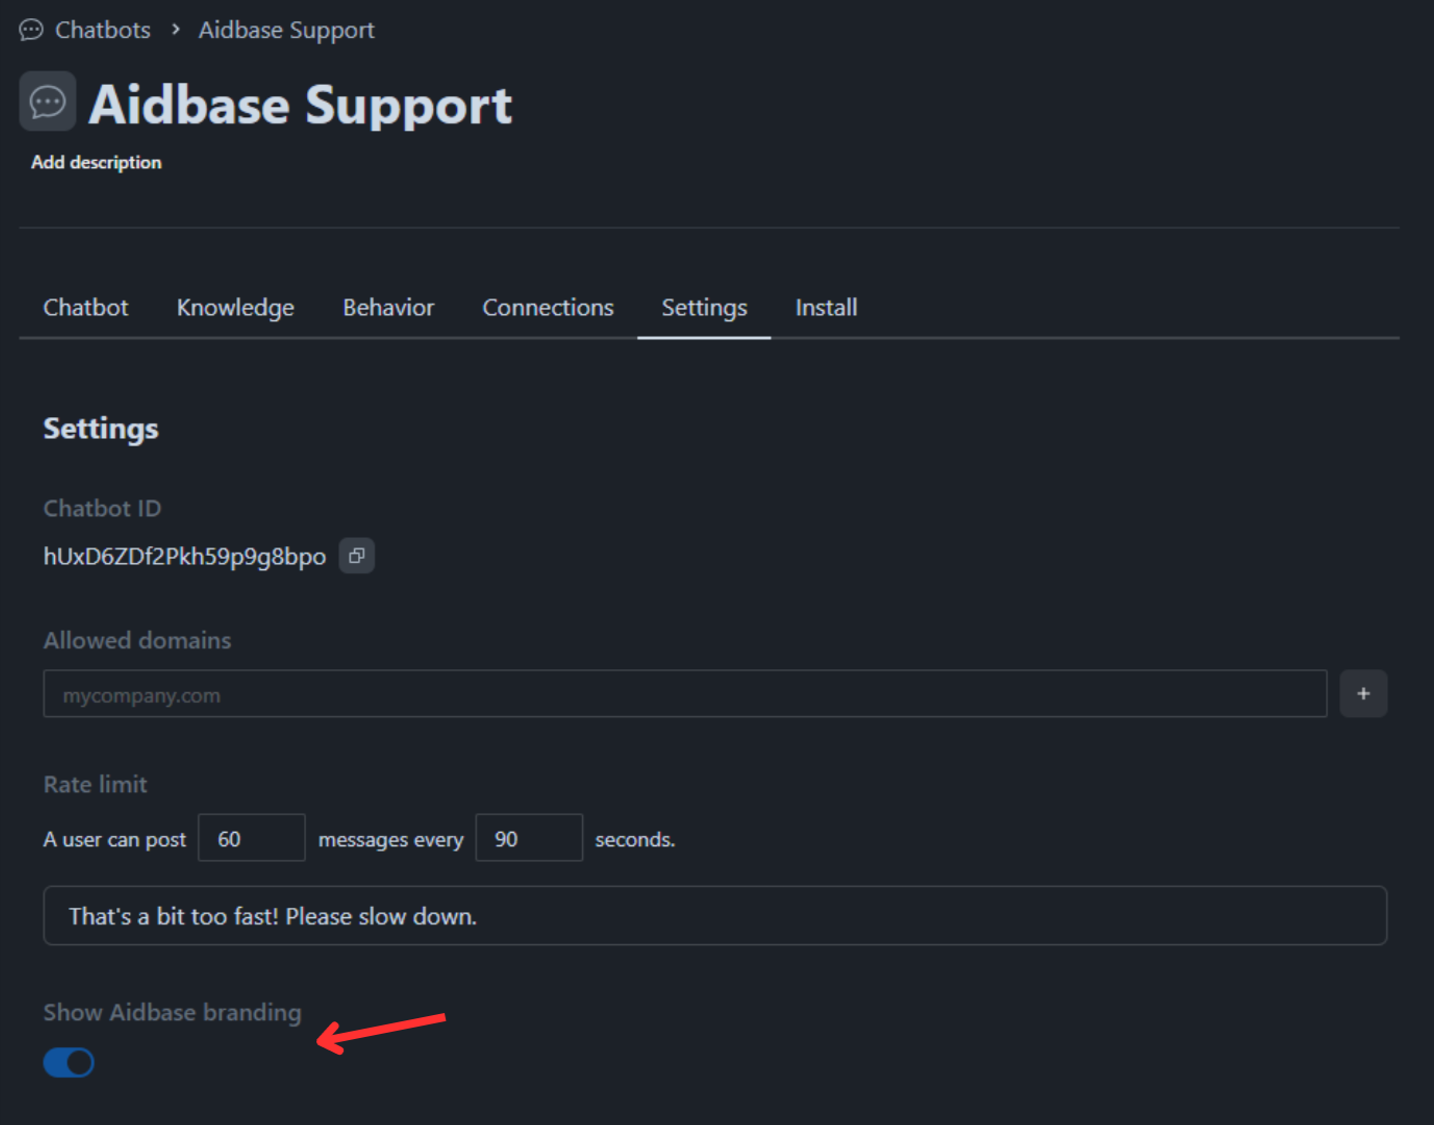
Remove Branding
Aidbase offers you full customization of your AI Chatbot and that also includes Aidbase branding. By default, it is set to Show Aidbase branding but you can always set it off.
You will find the option to remove it under the Settings Tab.
Adding knowledge to chatbot
By default, a newly created chatbot does not have any knowledge.
So in order to make your chatbot smart, we need to teach it first.
Start by adding the knowledge sources you need.
You can use a website, YouTube video, documents, or custom FAQs as knowledge sources.
Once you have added and trained your knowledge, you can add it to your chatbot:
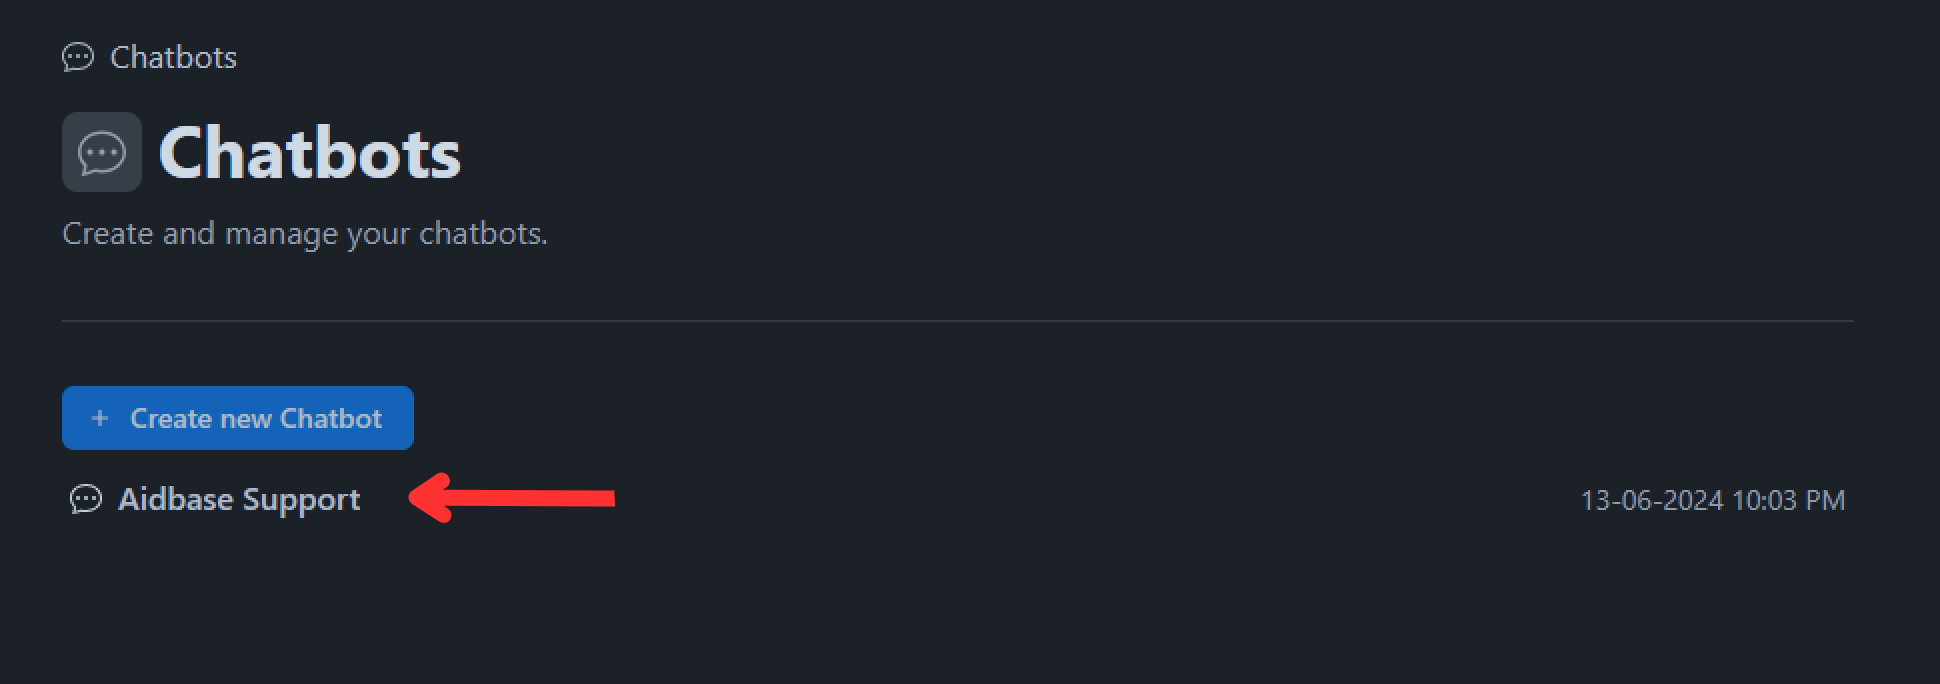
- Select the chatbot to which you want to add knowledge.
- Go to the chatbot configuration page by clicking on the chatbot name.
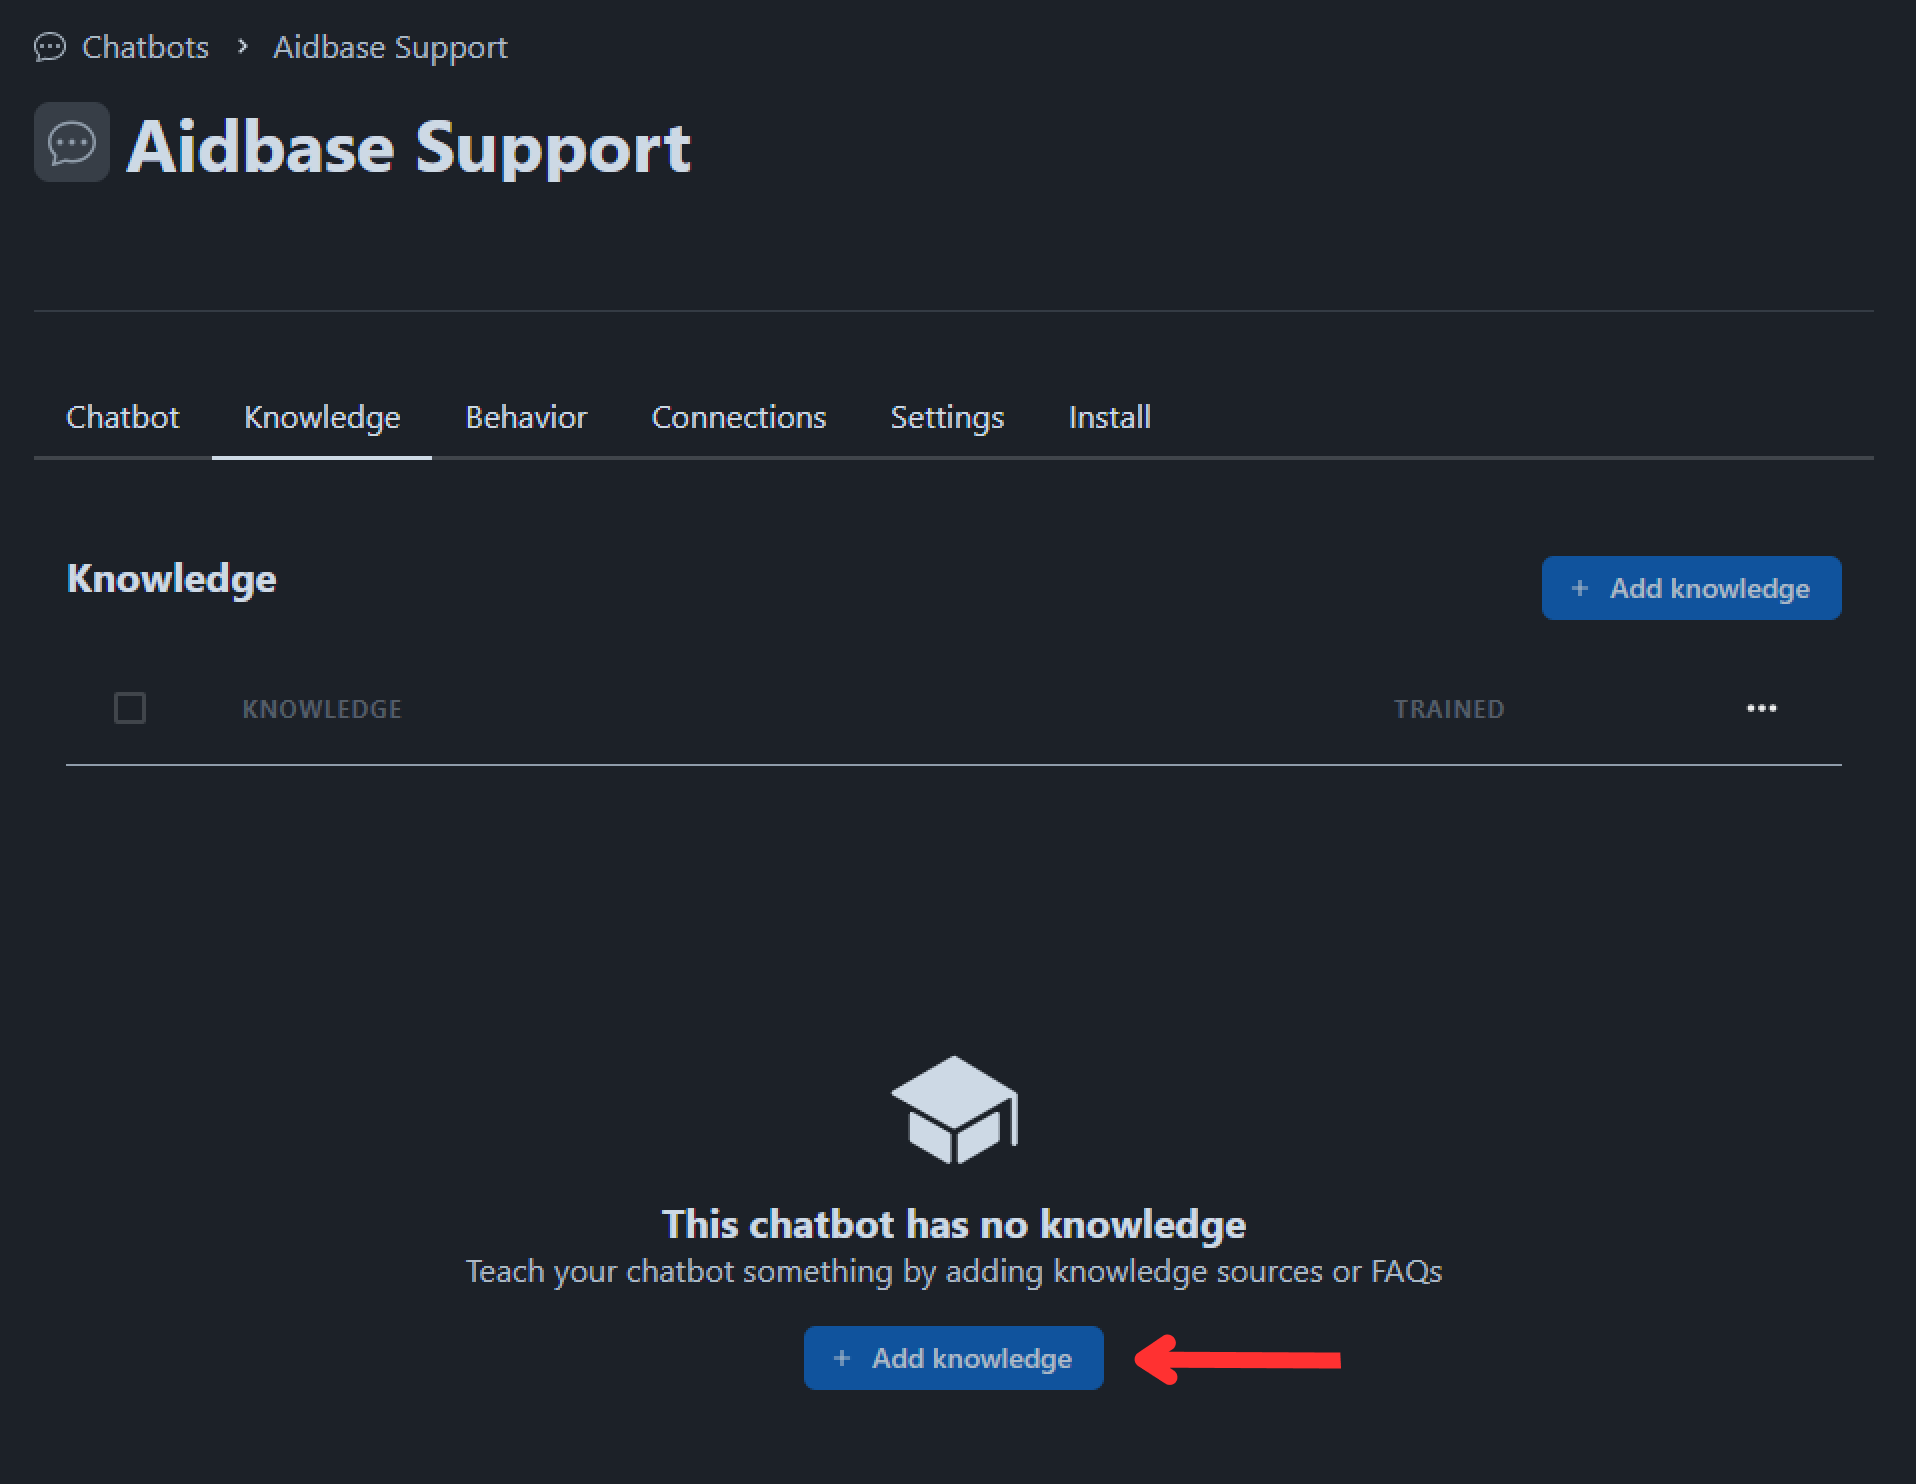
- Under the
knowledge tab, you get an option to add knowledge. - Click on
Add knowledge.
- A pop-up will appear showing all the knowledge base you have created so far from which to choose.
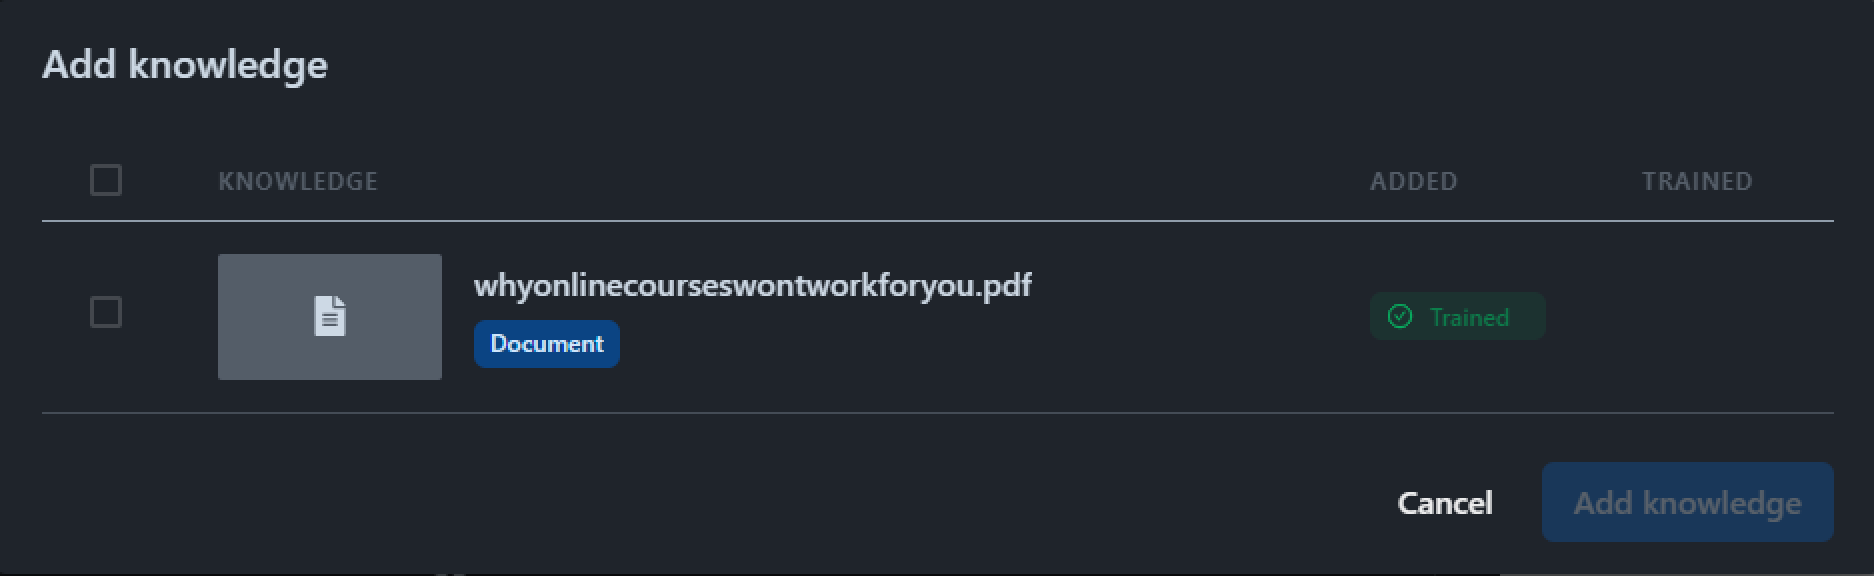
- Select the knowledge you want to add for this particular chatbot and click on add knowledge.
- Woah! You just added a knowledge source to your chatbot.