Adding your ticket form to WordPress
Create a ticket form
First, create a new ticket form and configure it to your liking.
Find the install script
Under your ticket form settings, navigate to the Settings tab.

From here, you can see the installation script. For this guide, we are not going to copy it directly, but we will use it as a reference.
Install the Aidbase script
Let’s start by adding the script for the Aidbase ticket form. We will use the top part of the installation script above.
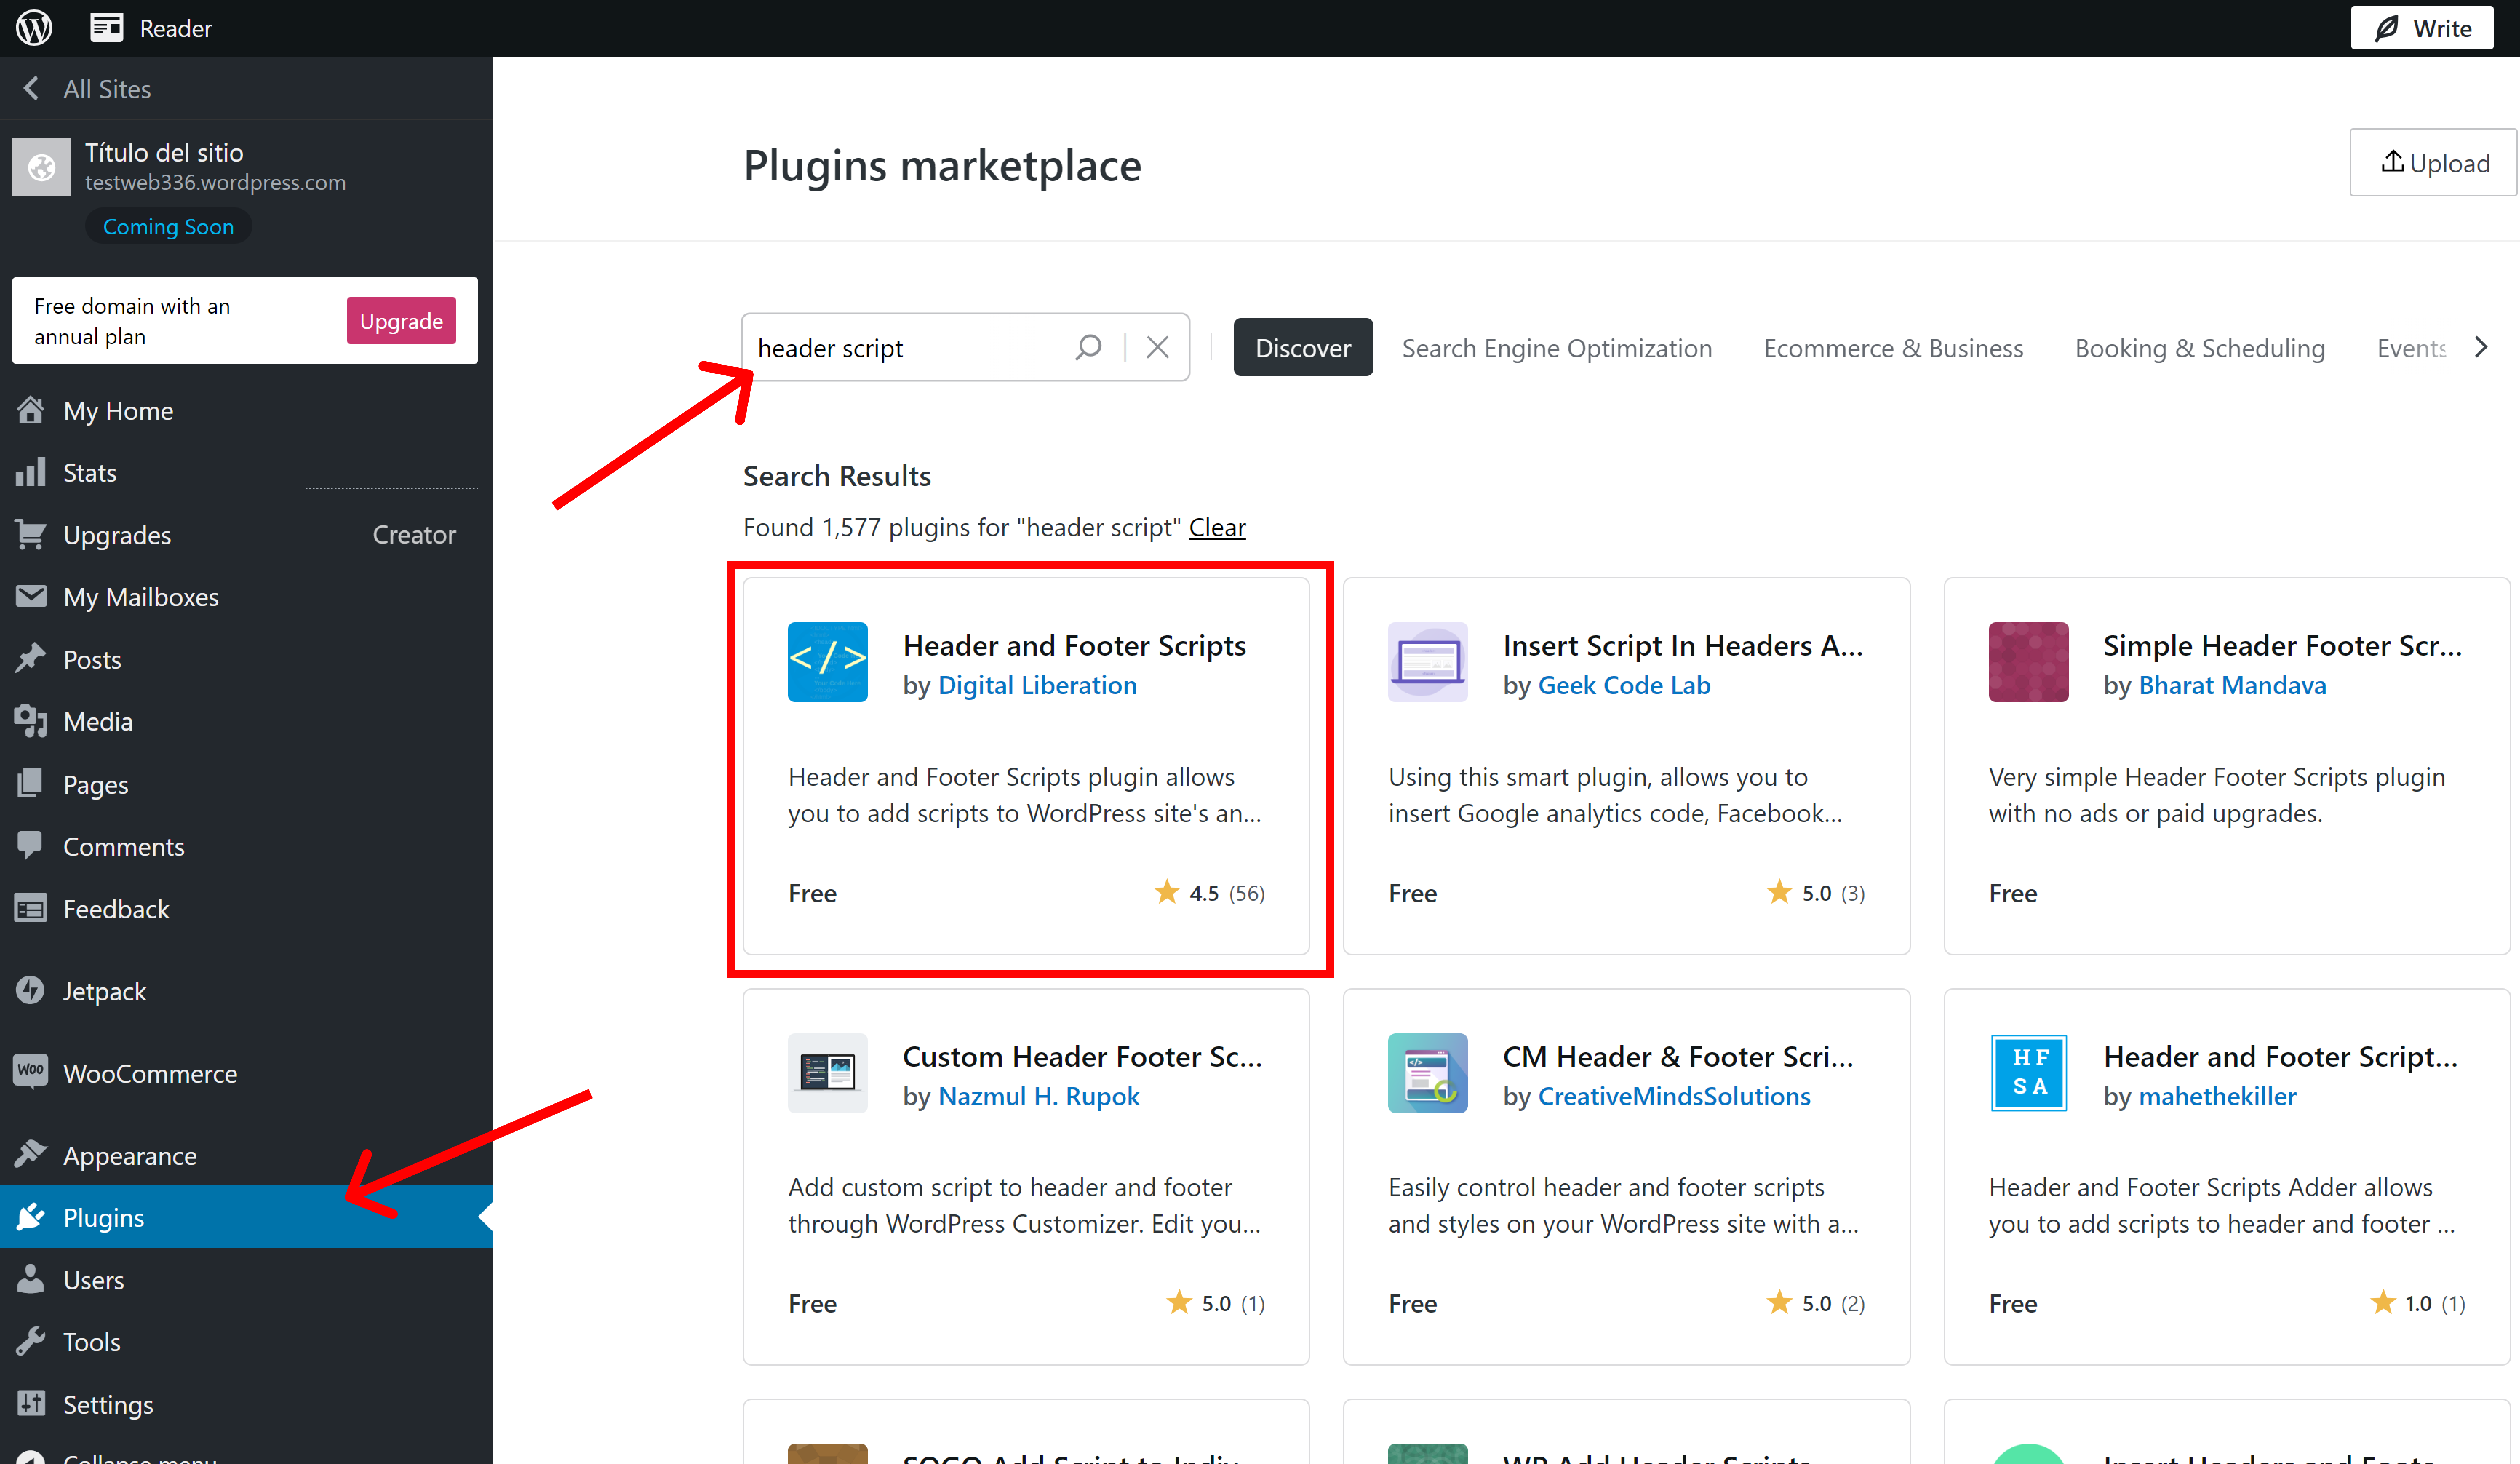
- Sign into your WordPress admin account
- Go to Plugins from the left menu
- Search for
header scriptand choose the Header and Footer Scripts plugin
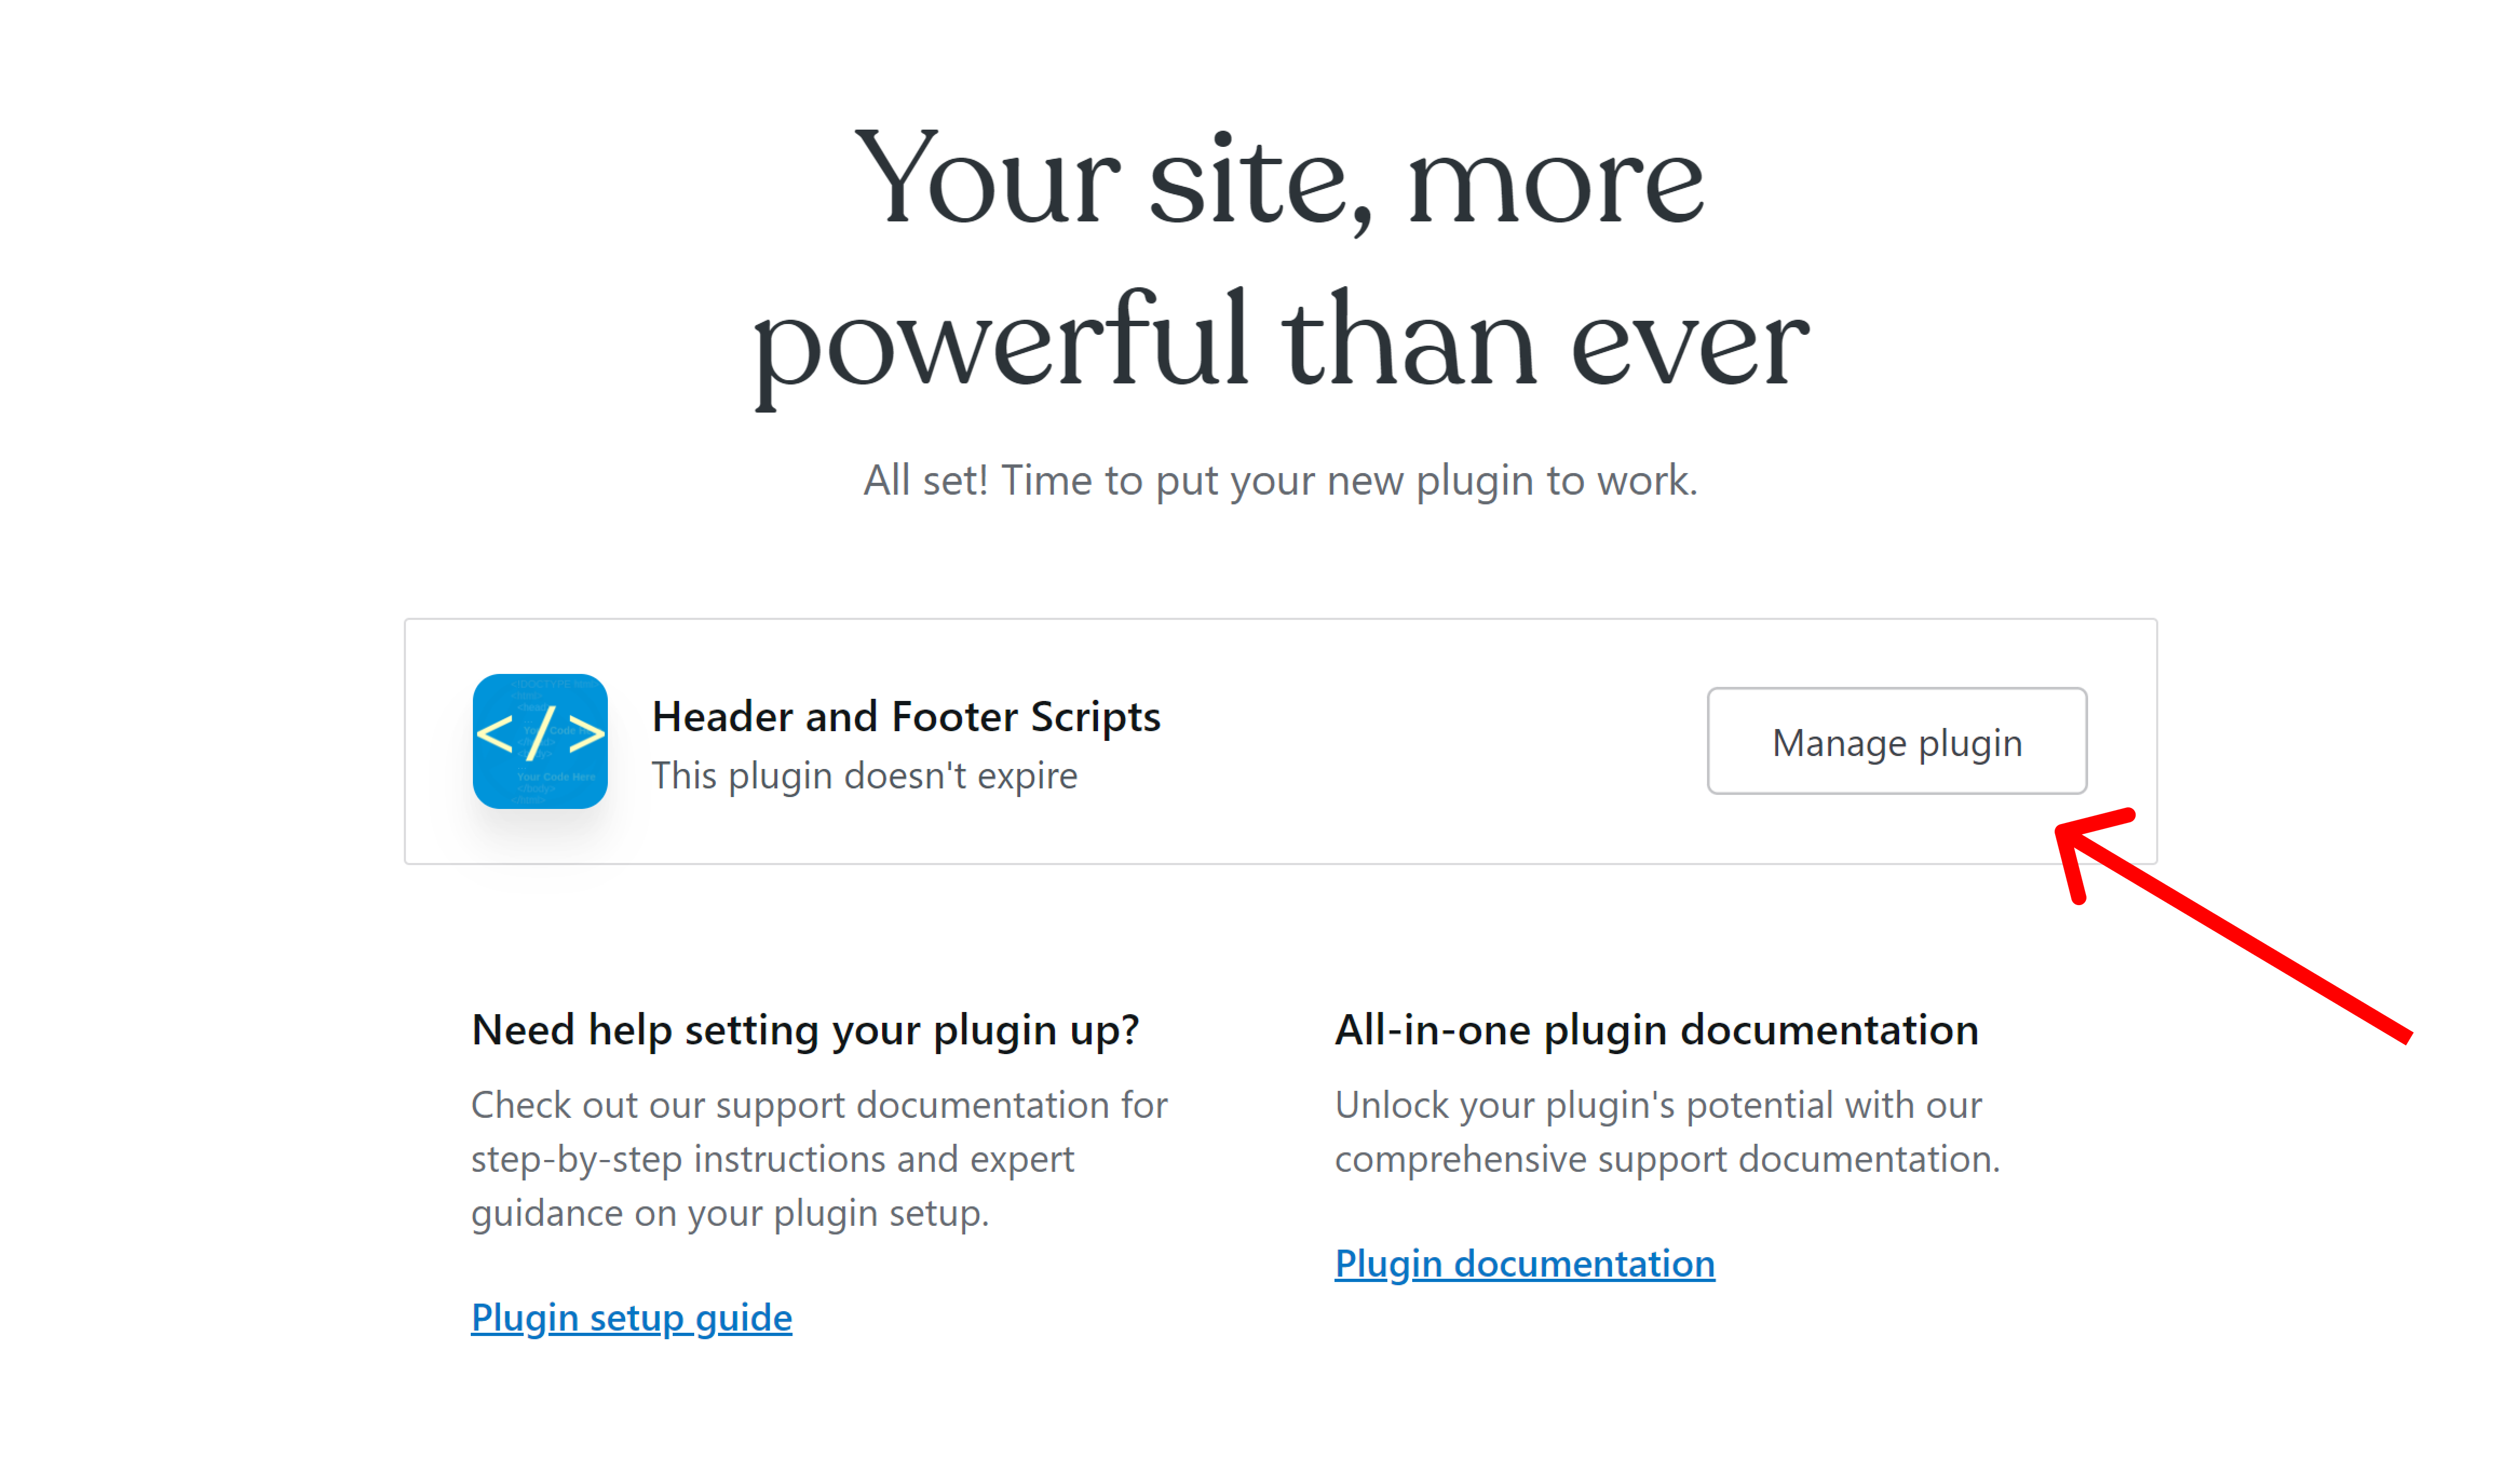
After succesfully installing the plugin, you can click Manage plugin
Click Settings → Header and Footer Scripts
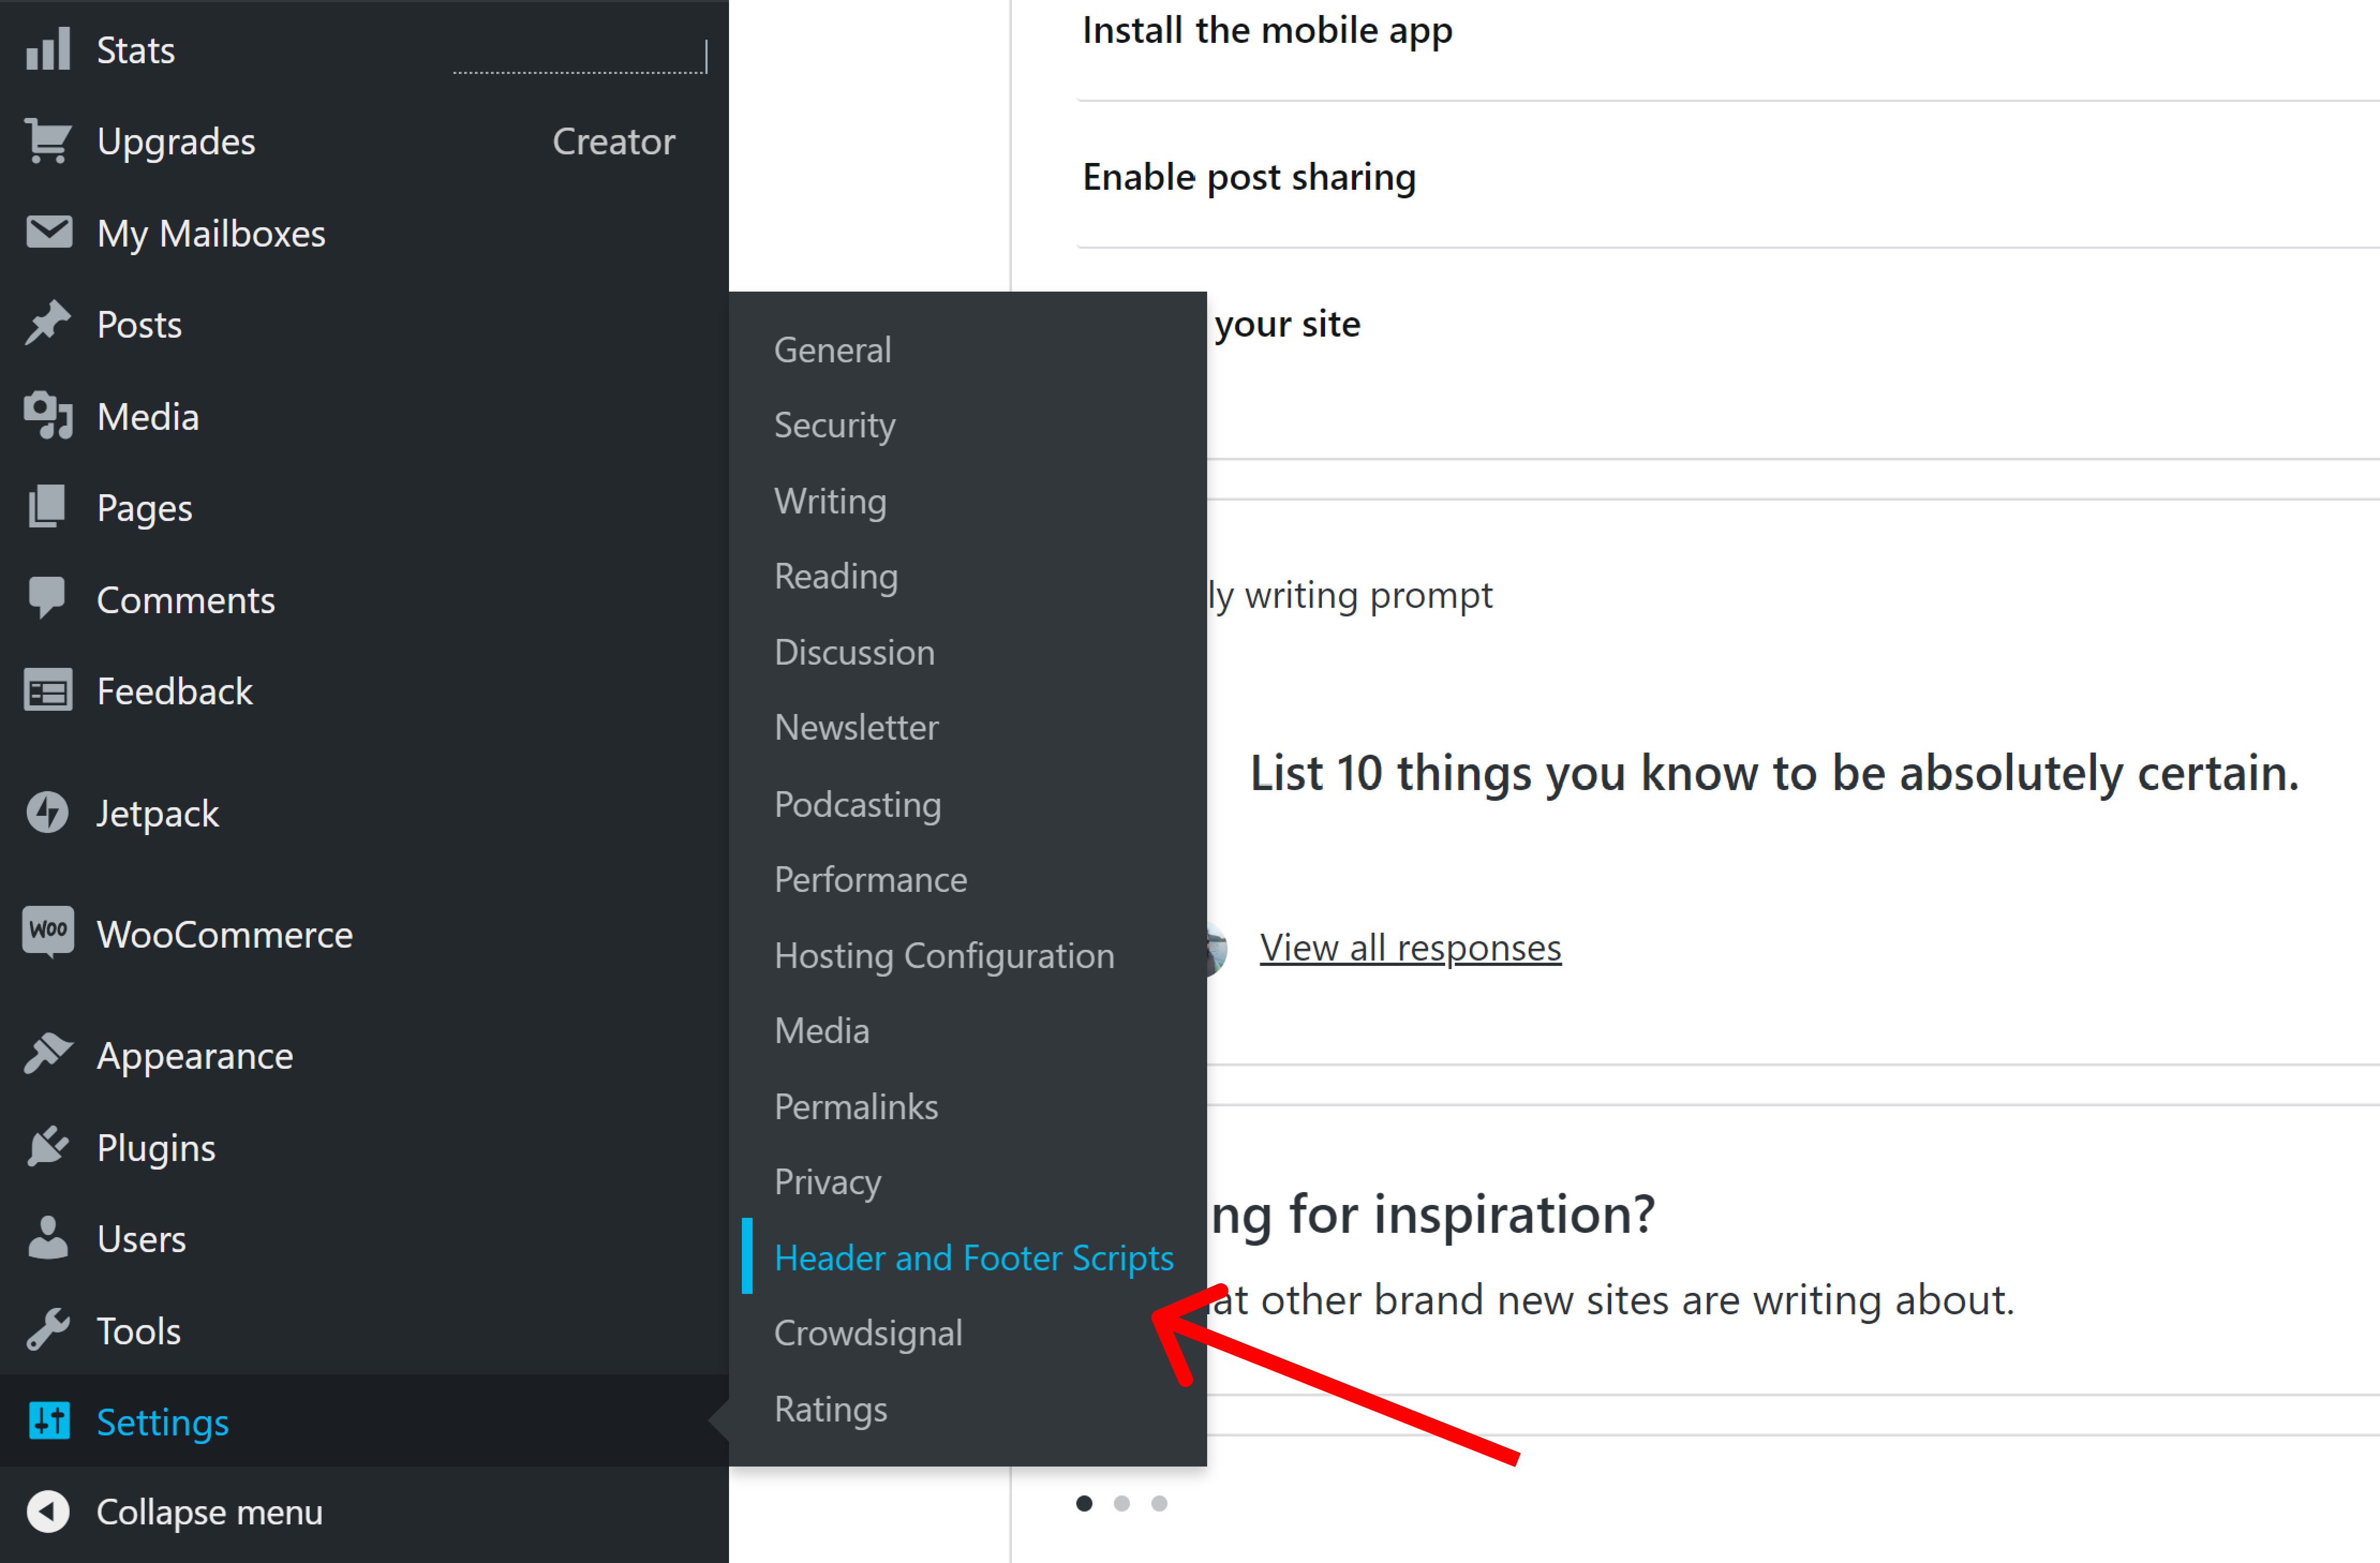
Finally, add the <script> tag from the first step in the Head section.
Click Save settings and publish your website.

Embed the ticket form
You typically want to install the ticket form on a contact page or support page.
For this, we need two things:
- A button that says “Create ticket”
- A ticket form that opens as a modal when the button is clicked.
Let’s take a look at how to do this:
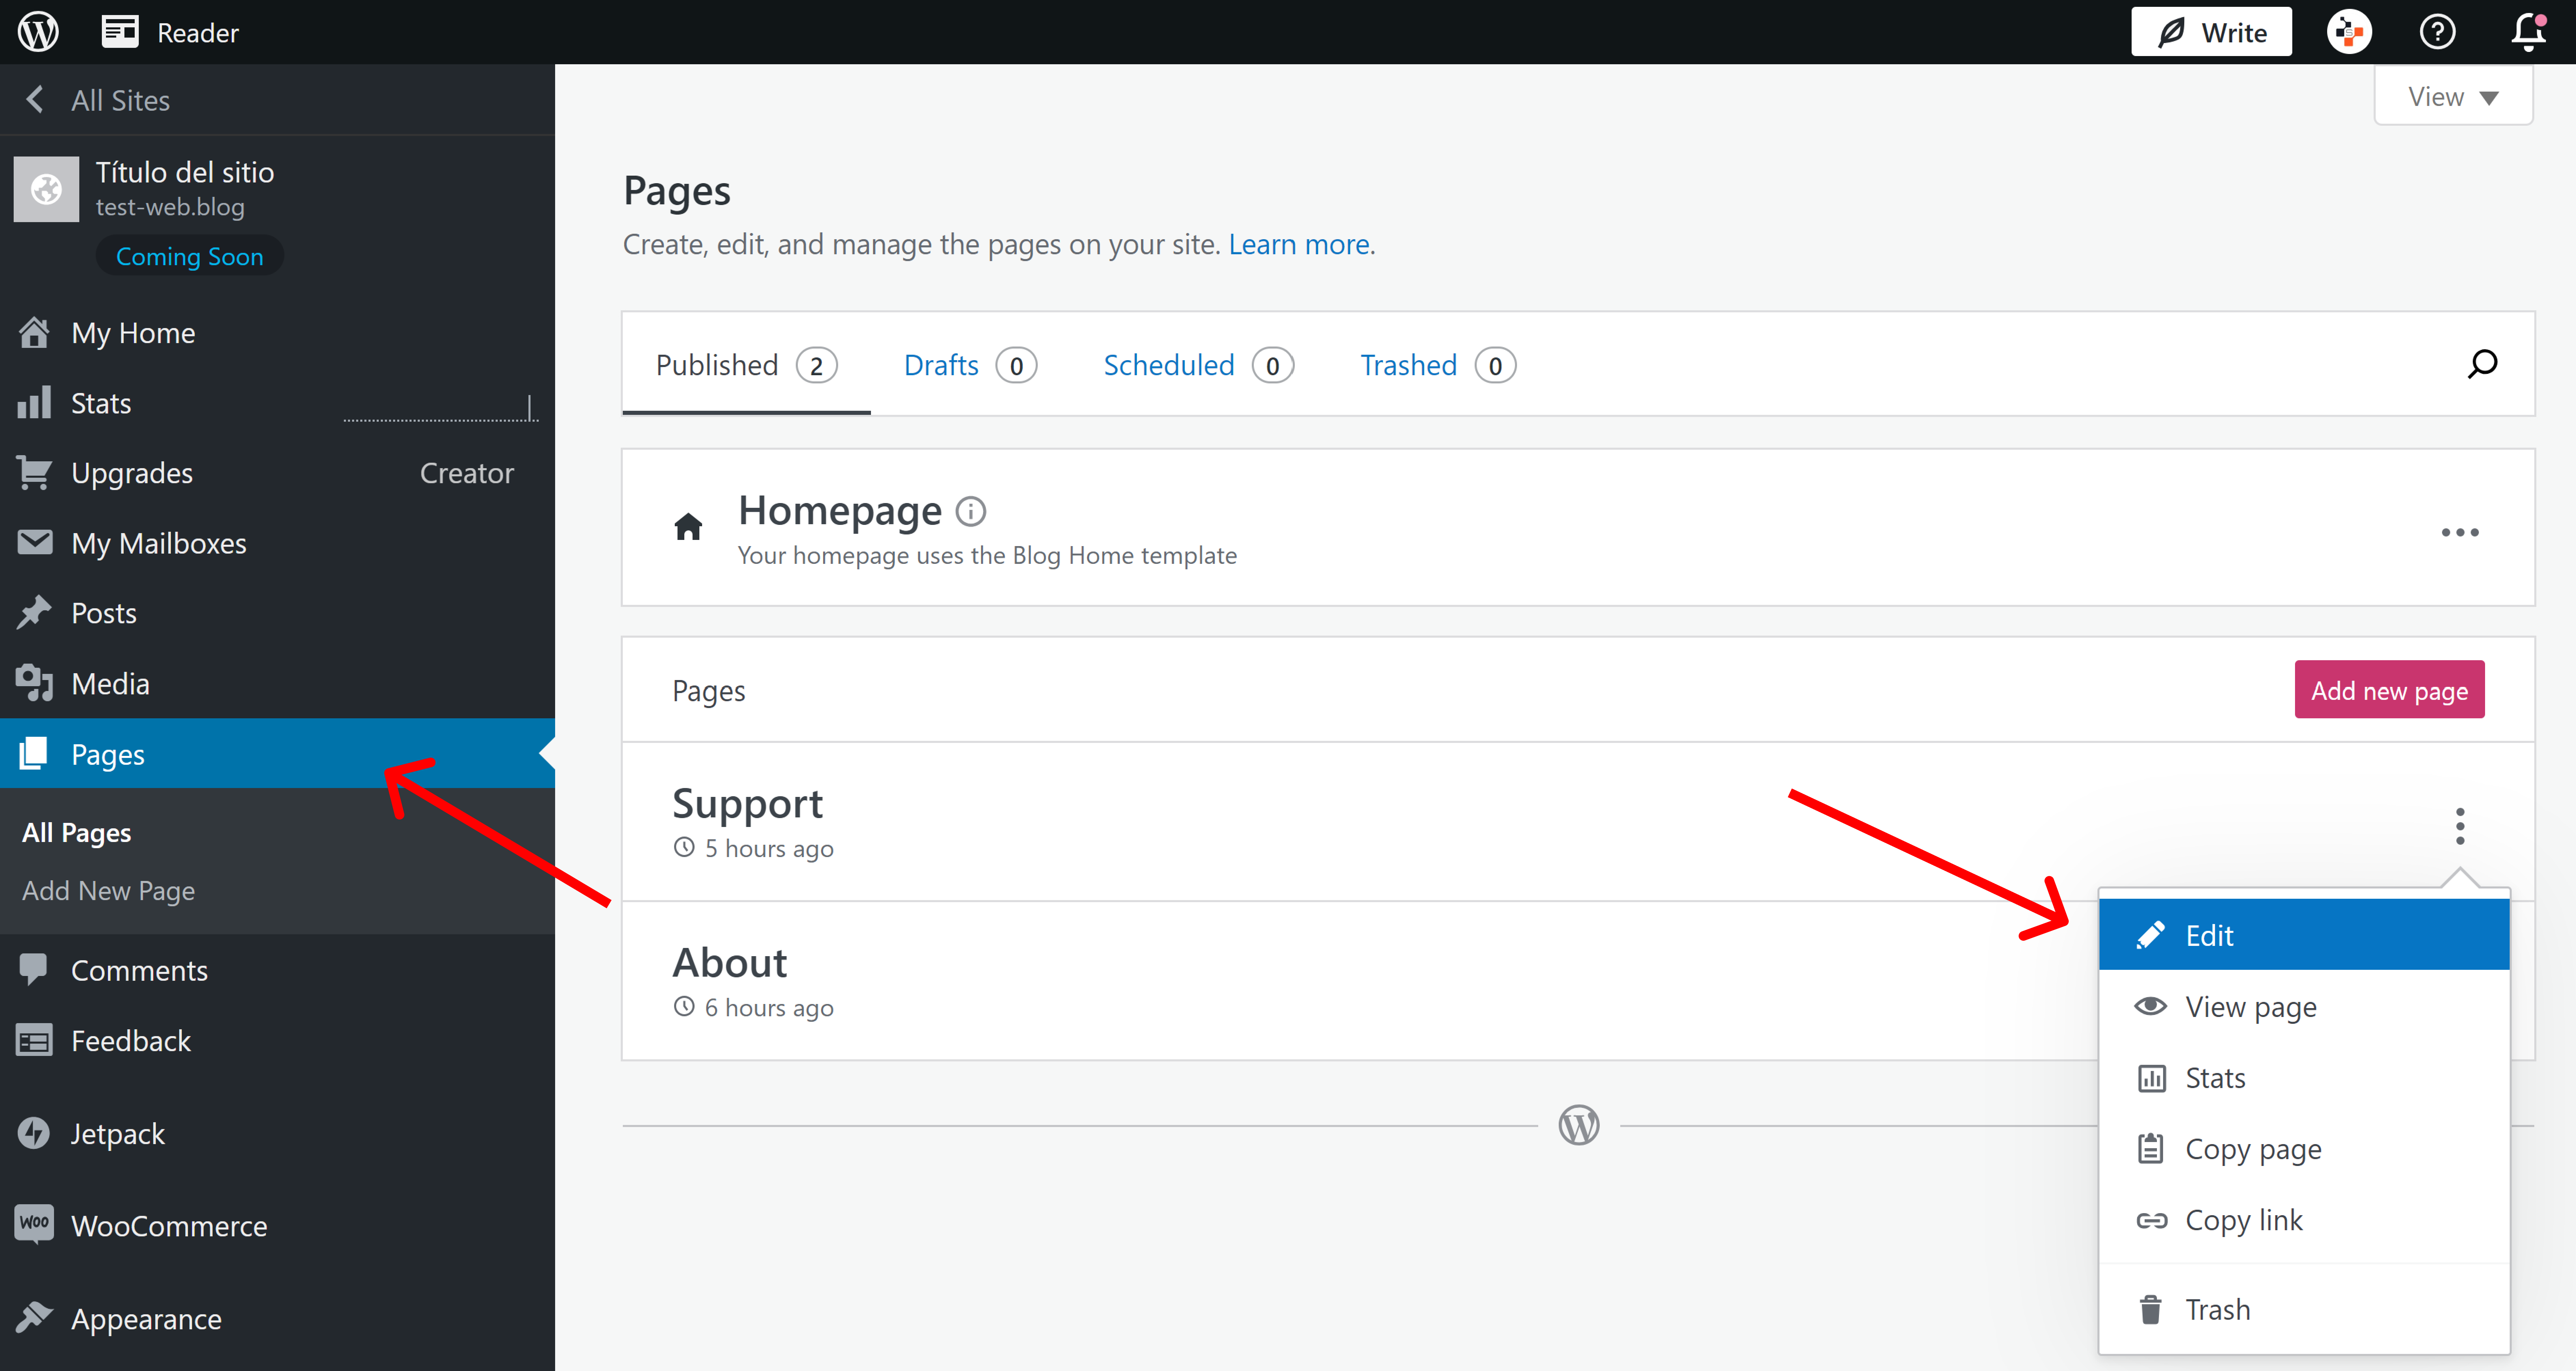
- Go back to your WordPress dashboard
- Click Pages → Edit on the page you want to edit
Now we are ready to add the chatbot element to our website.
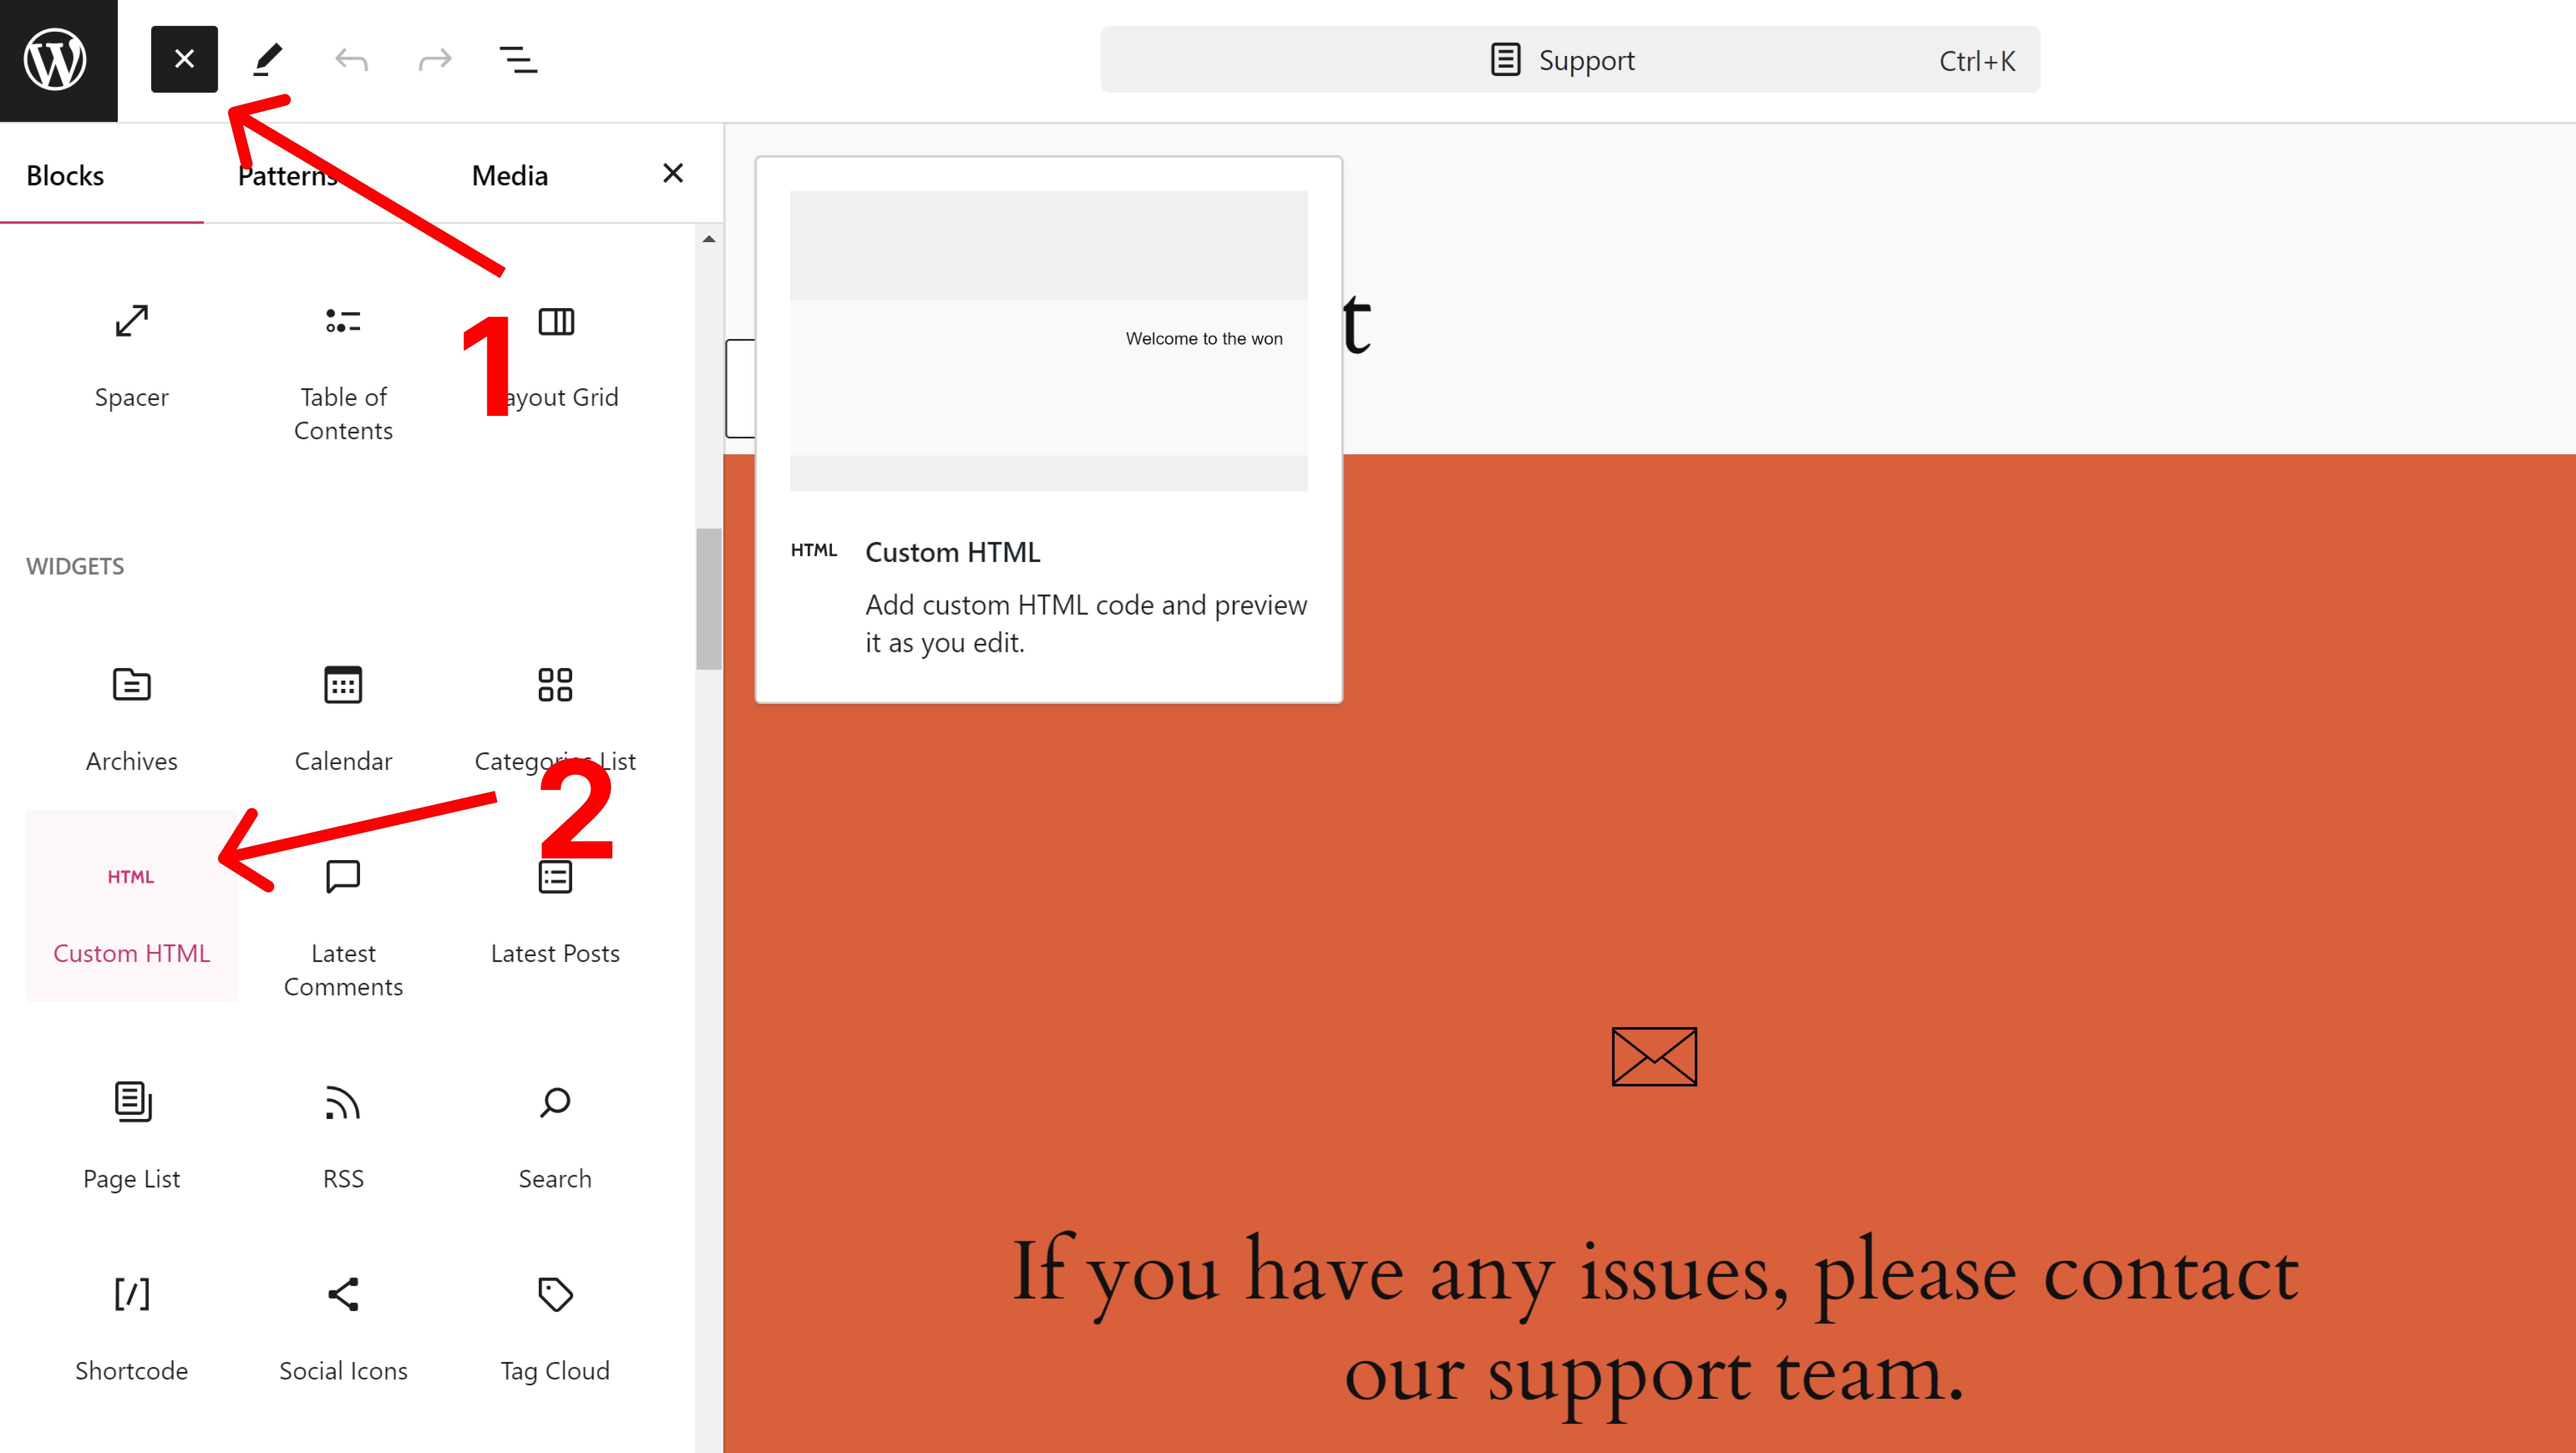
- Click the “+” button from the top left corner.
- Find the Custom HTML Element under the Blocks tab.
- Drag it into your WordPress site in the place where you want the chatbot.
Now that we have a custom HTML block on our site, we can set up the chatbot.
- Make sure the element is selected and choose the HTML view.
- Insert the last part of the script from the first step

Perfect. Now we can start configuring the ticket form using attributes.
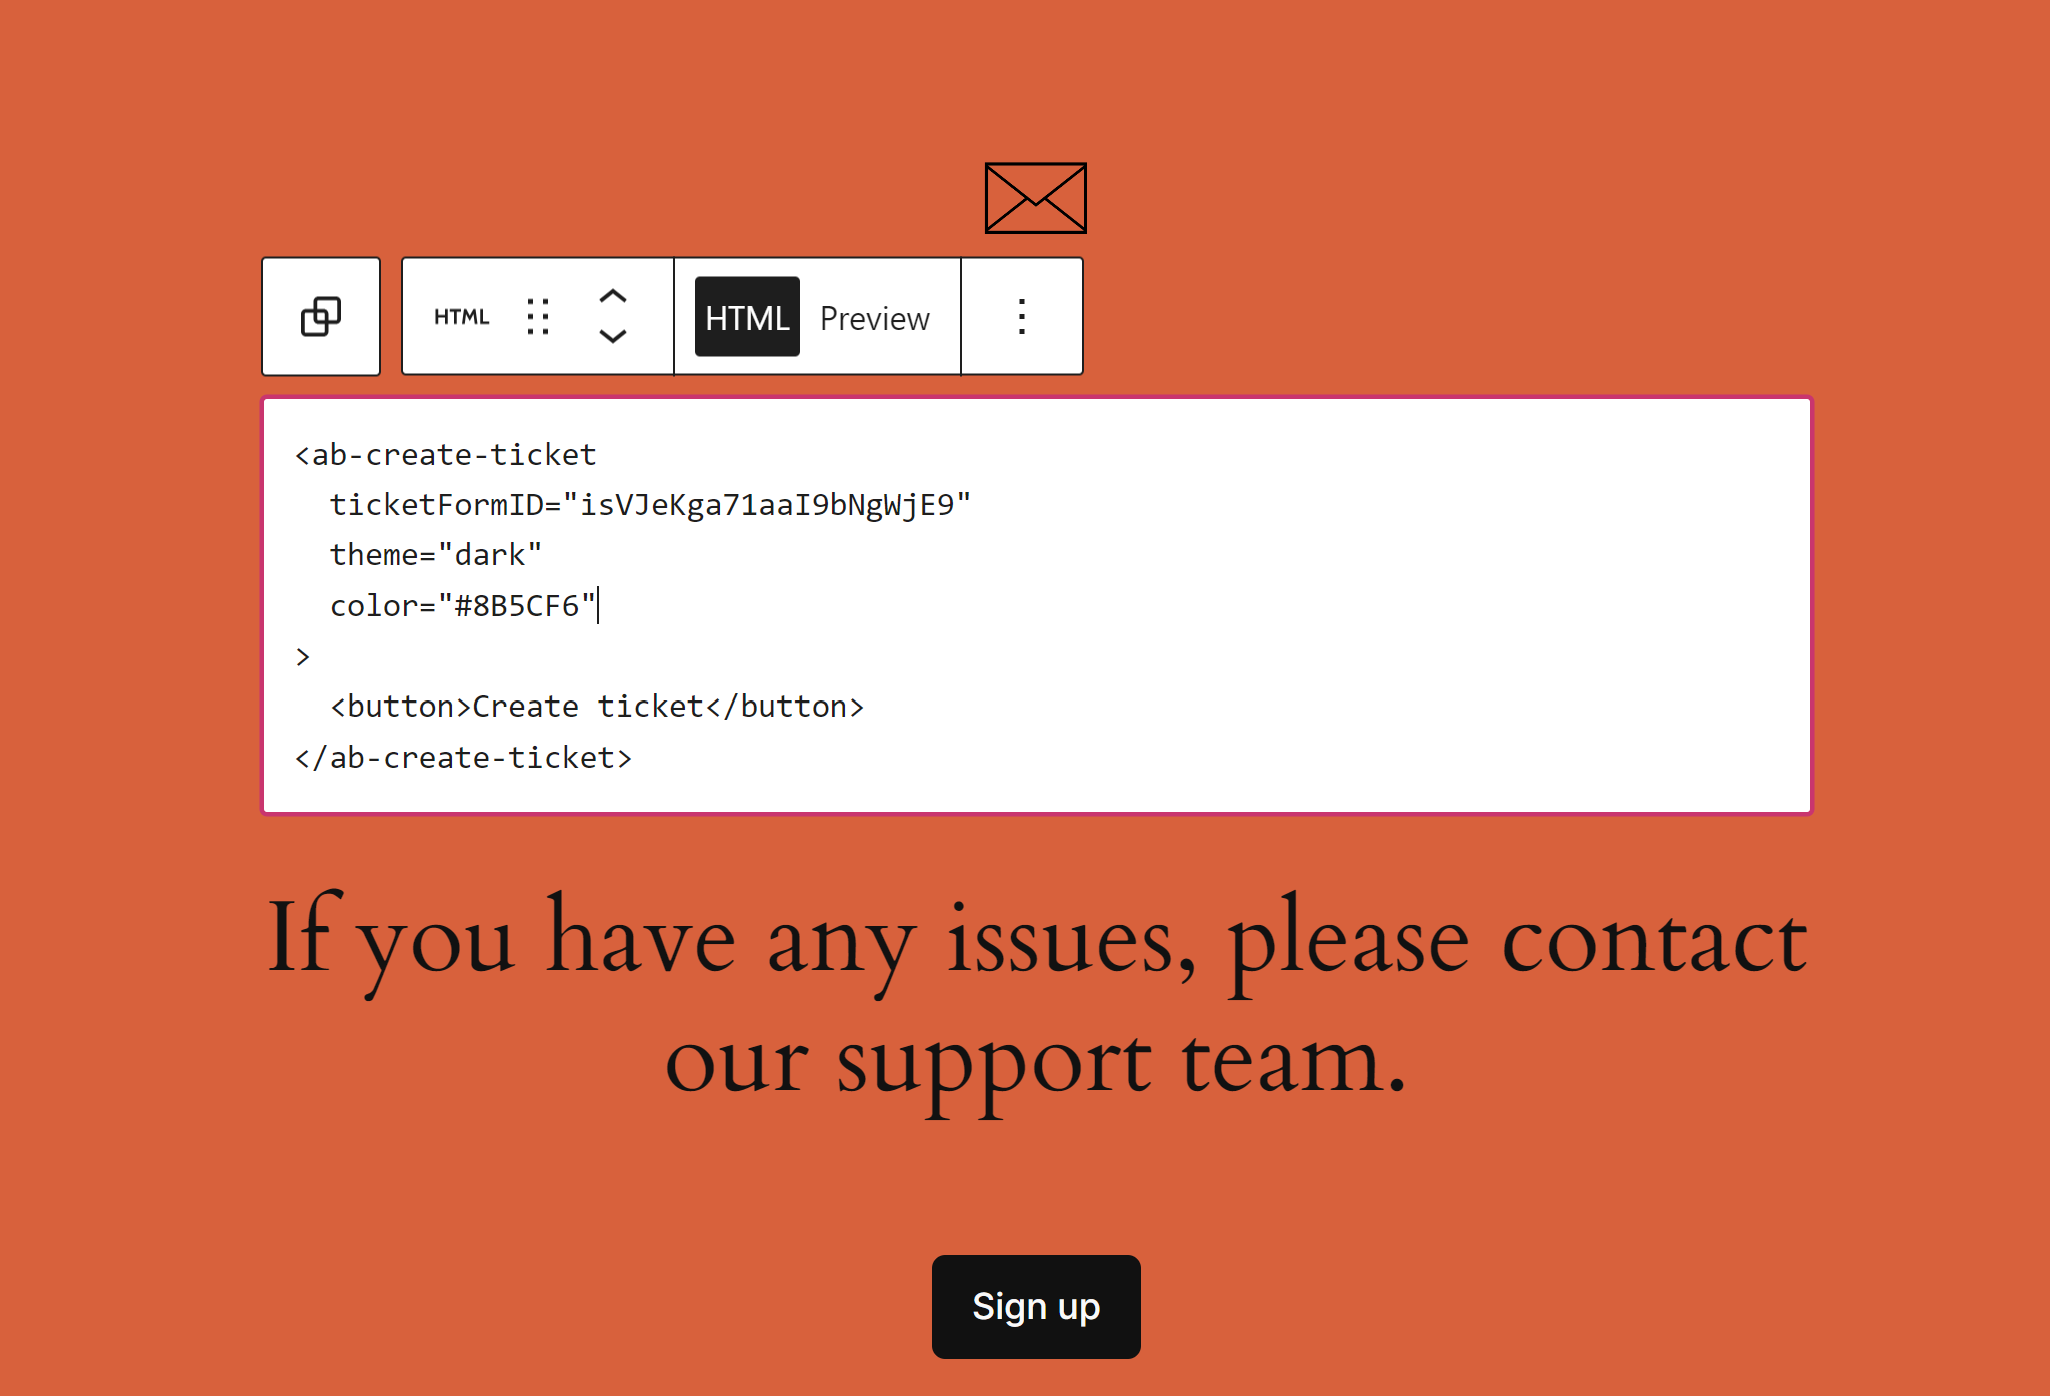
You can add as many attributes as you need to customize the ticket form's behavior. See our reference guide for a full list of available attributes and a description of what they do.
That’s it! Your Aidbase ticket form is now fully integrated 🥳